A walkway has the power to set the tone for an entire outdoor space. It acts as both a functional path and a visual feature that guides the eye through a yard or garden. A well-thought-out design can instantly boost curb appeal while making the space feel more inviting and organized.
The beauty of DIY walkway projects lies in their versatility. Simple materials such as gravel, stepping stones, pavers, or reclaimed wood can become striking pathways with a bit of creativity and planning. Each choice brings its own character—gravel delivers rustic charm, stone creates timeless elegance, and wood lends warmth and texture.
The process allows homeowners to personalize the look while staying within budget. A walkway doesn’t need to be complicated to make an impact; even the simplest design can bring harmony to a landscape. By experimenting with patterns, borders, and textures, anyone can craft a walkway that reflects their personal style.
These projects also provide an opportunity to blend functionality with artistry, turning a yard into a welcoming retreat. From classic stone paths to imaginative mosaic designs, DIY walkway ideas open the door to endless outdoor possibilities.

Table of Contents
ToggleDIY Walkway Ideas: 10 Beautiful Paths You Can Build
A beautiful walkway makes your home special. It welcomes guests. It guides people to your front door. A good path also keeps feet clean and dry. You do not need a professional to build one. With some effort, you can create a path yourself. This guide shares ten do-it-yourself walkway ideas. These projects use different materials. Some cost very little. Others need a bigger budget. You will find an idea that fits your home and your skills.
1. Simple Gravel Path
A gravel path is one of the easiest walks to build. It works for any style of home. You can make curves easily. Gravel is also very cheap. You need a few basic tools to start.
First, plan your path. Use a garden hose to mark the shape. A curved path often looks more natural. Next, dig out the soil. Remove about three inches of dirt. This makes space for the gravel.
A solid border keeps the gravel in place. Use plastic edging, wood, or metal. Secure the border with stakes. This step is important. It stops the gravel from spreading into your lawn.
Lay landscape fabric in the dug-out area. This fabric stops weeds from growing through your gravel. It lets water drain through. Cover the entire path with the fabric.
Now, pour the gravel. Spread it evenly with a rake. You want a layer about two inches thick. Use a hand tamper to pack the gravel down. This makes a firm, stable walking surface.
Gravel paths need a little care. You might need to add more gravel after a few years. Rake it sometimes to keep it level.
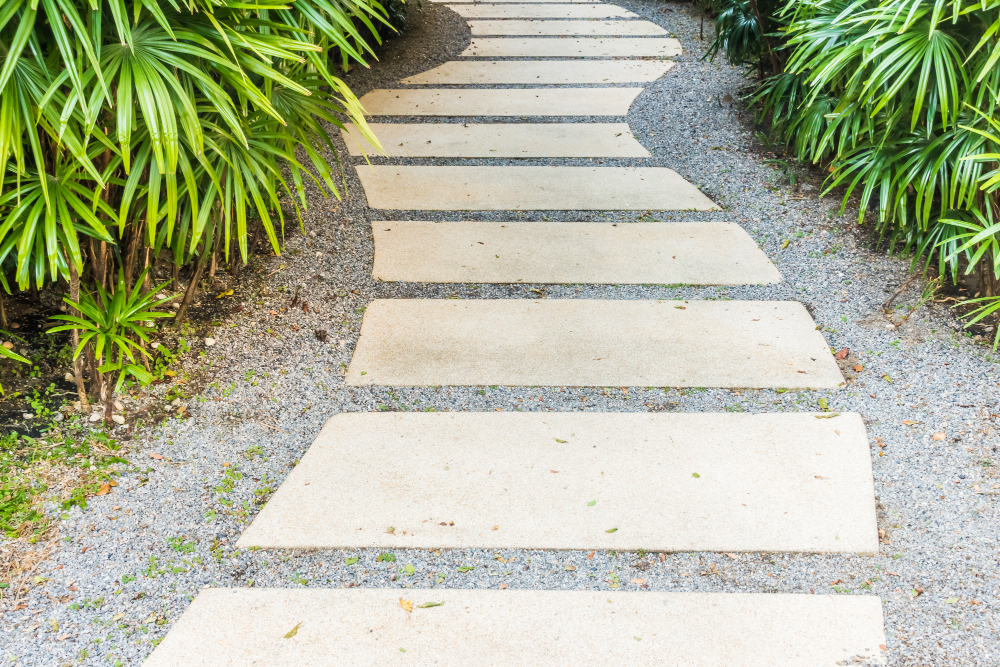
2. Classic Stepping Stone Path
Stepping stones are a classic choice. They look great in gardens and lawns. You can buy stones at any garden store. They come in many shapes and colors.
Start by laying the stones on the ground. Place them where you want your path. Space them like a natural walking step. About two feet apart is good for most people.
Trace around each stone with a shovel. Then, move the stone aside. Dig out the grass and soil inside your outline. The hole should be deep enough. The top of the stone should sit level with the ground. You do not want to trip on it.
Pour a thin layer of sand into the hole. This sand bed helps level the stone. It also allows for drainage. Place the stone in the hole. Press it down firmly. Use a level to check that it is flat. Add or remove sand under the stone until it sits right.
Fill the gaps around the stone with soil or sand. You can also plant grass or moss between the stones. This creates a very natural look.
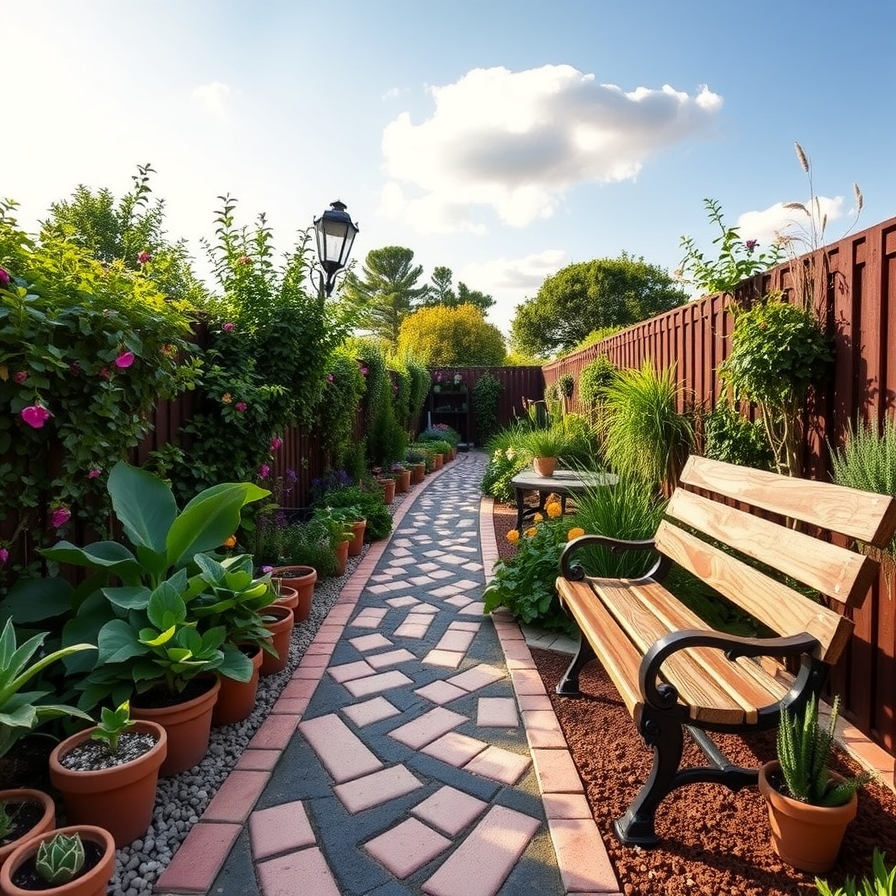
3. Charming Brick Walkway
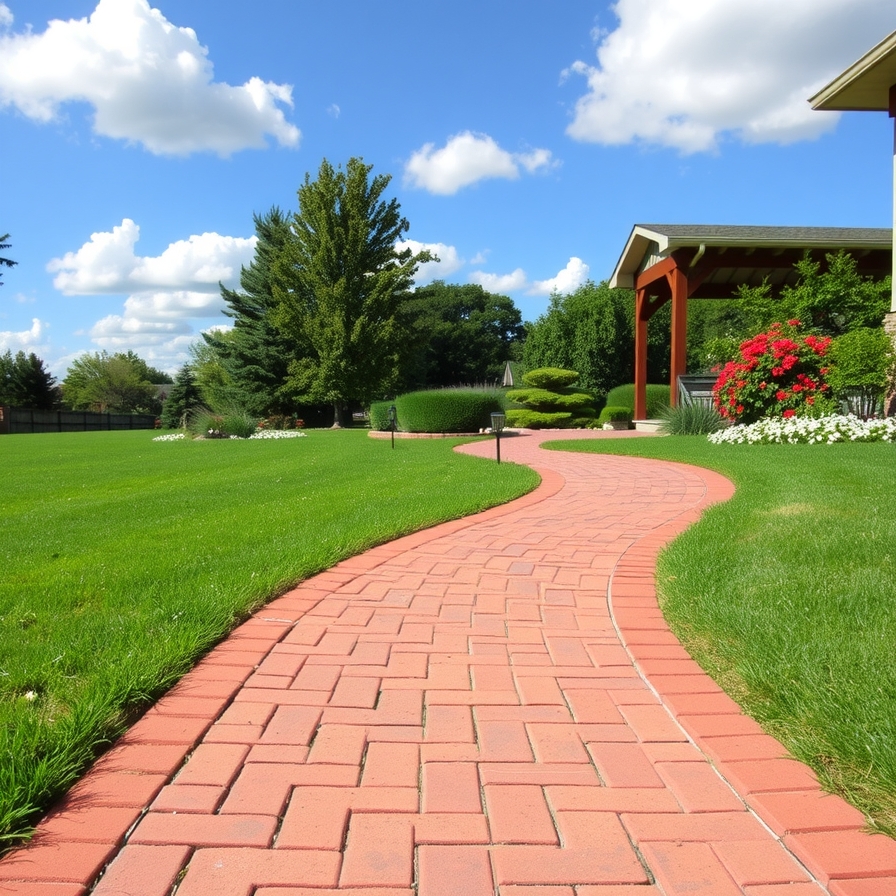
Brick paths have a timeless charm. They look traditional and warm. Old bricks can give a rustic feel. New bricks offer a clean, uniform look. Building a brick path takes more work. The result lasts for many years.
You must prepare a good base. Dig a trench about six inches deep. The depth depends on your local climate. Colder areas need a deeper base to prevent frost heave.
Fill the trench with about three inches of gravel. Pack the gravel down with a tamper. This is your foundation. It provides drainage and stability.
Add a layer of sand on top of the gravel. Make it about two inches deep. Use a board to smooth and level the sand.
Now, lay your bricks. Choose a pattern. A simple running bond pattern is easiest. You can also try a herringbone or basket weave pattern. Place each brick tightly against the next. Use a rubber mallet to tap them into the sand.
After all bricks are down, spread more sand over the path. Sweep the sand into the cracks between the bricks. Spray the path with water. The water helps the sand settle. You may need to add sand and water a few times.
4. Modern Concrete Paver Path
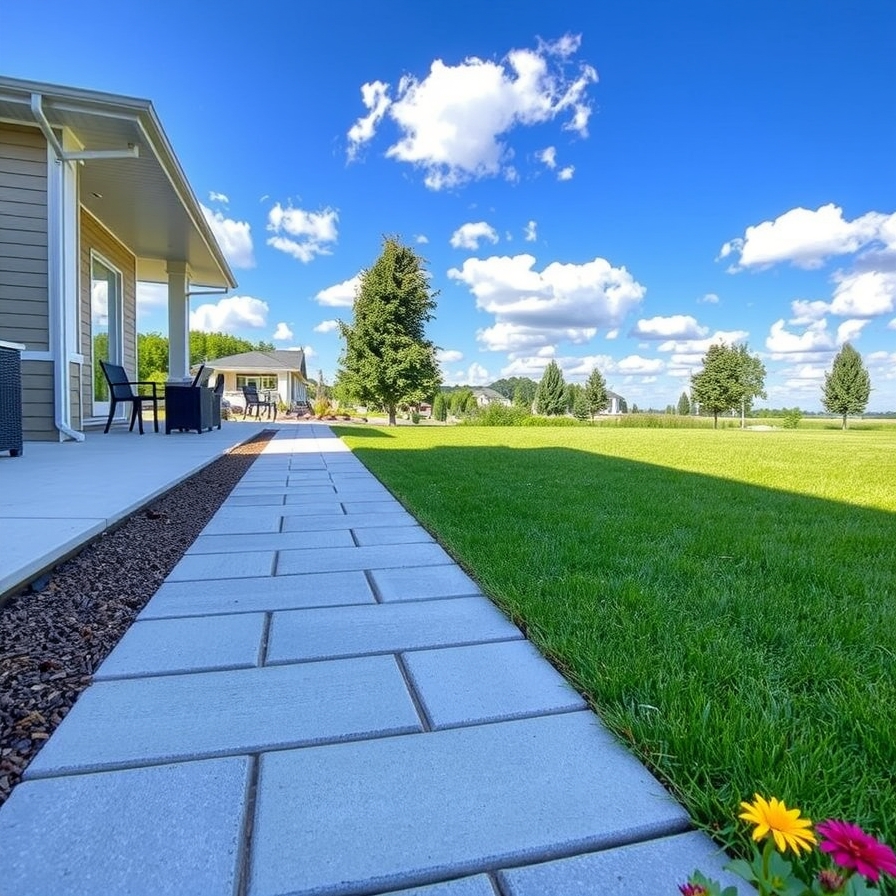
Concrete pavers are very popular. They are strong and uniform. You can find them in many sizes and colors. They often interlock, which makes building easier.
The installation process is like a brick path. You need a solid base. Dig a trench about seven inches deep.
Add a four-inch layer of gravel. Tamp it until it is very firm. Then, add two inches of sand. Level the sand carefully.
Now, place your pavers. Start from one corner and work your way down. Fit the pavers together tightly. You might need to cut some pavers at the end. A rented paver splitter makes this job easy.
Once the pavers are set, spread sand over them. Sweep the sand into the joints. Use a plate compactor to vibrate the path. This pushes the sand deep into the cracks and locks the pavers in place. Spray with water to settle the sand.
5. Inexpensive Mulch Path
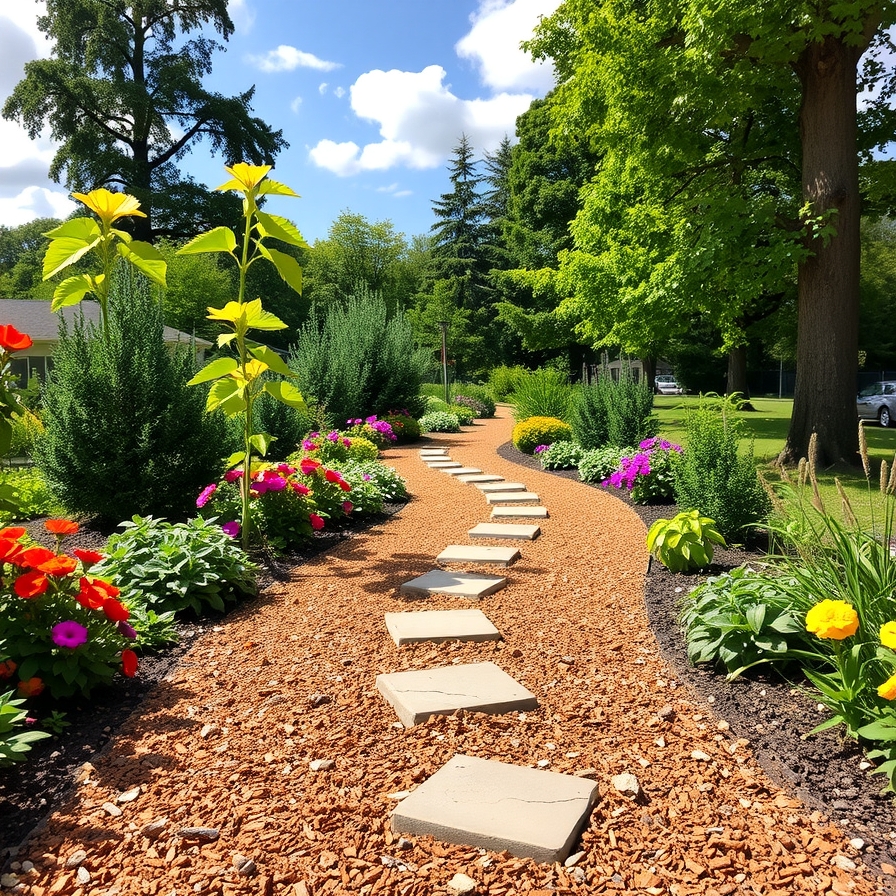
A mulch path is the simplest and cheapest option. It is perfect for garden paths. It feels soft underfoot. Mulch also helps your garden soil retain moisture.
Mark the path with a hose or rope. You do not need to dig very deep. Just remove any grass or weeds. About two inches is enough.
A border is helpful for a mulch path. It keeps the mulch from washing away. Use logs, stones, or plastic edging.
Lay landscape fabric down. This prevents weeds. It also keeps the mulch from mixing with the soil below.
Pour the mulch onto the fabric. Spread it evenly with a rake. You want a layer about three inches thick. Wood chips or bark nuggets work best.
Mulch paths need upkeep. You will need to add new mulch every year or two. It decomposes and enriches the soil.
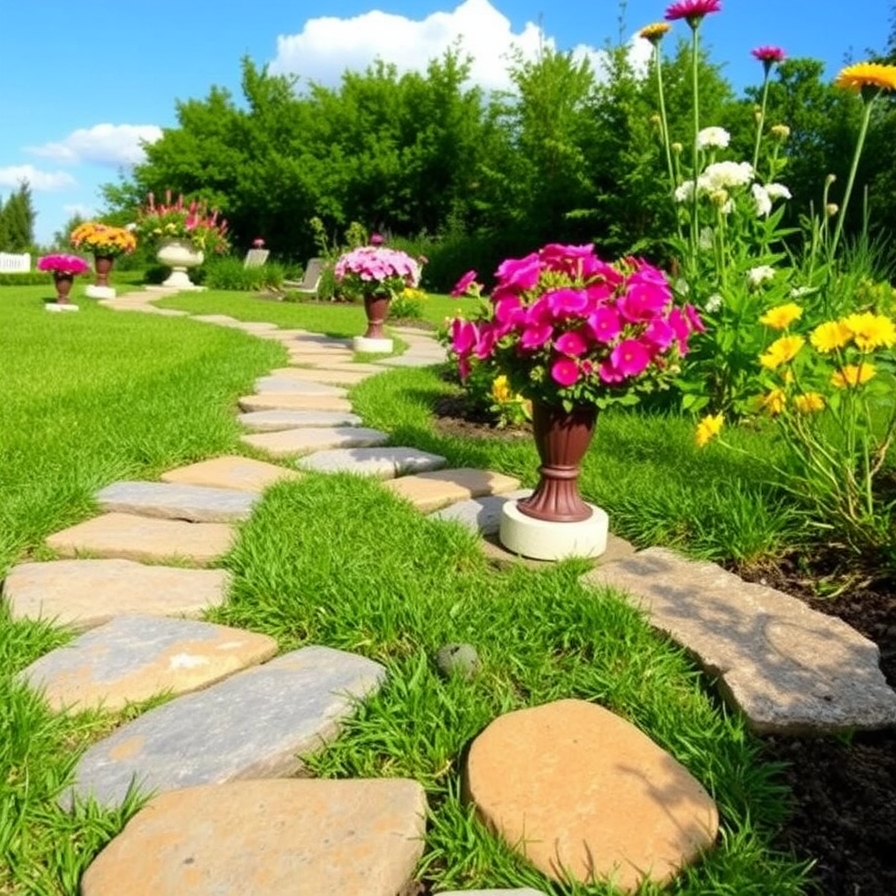
6. Natural Flagstone Walkway
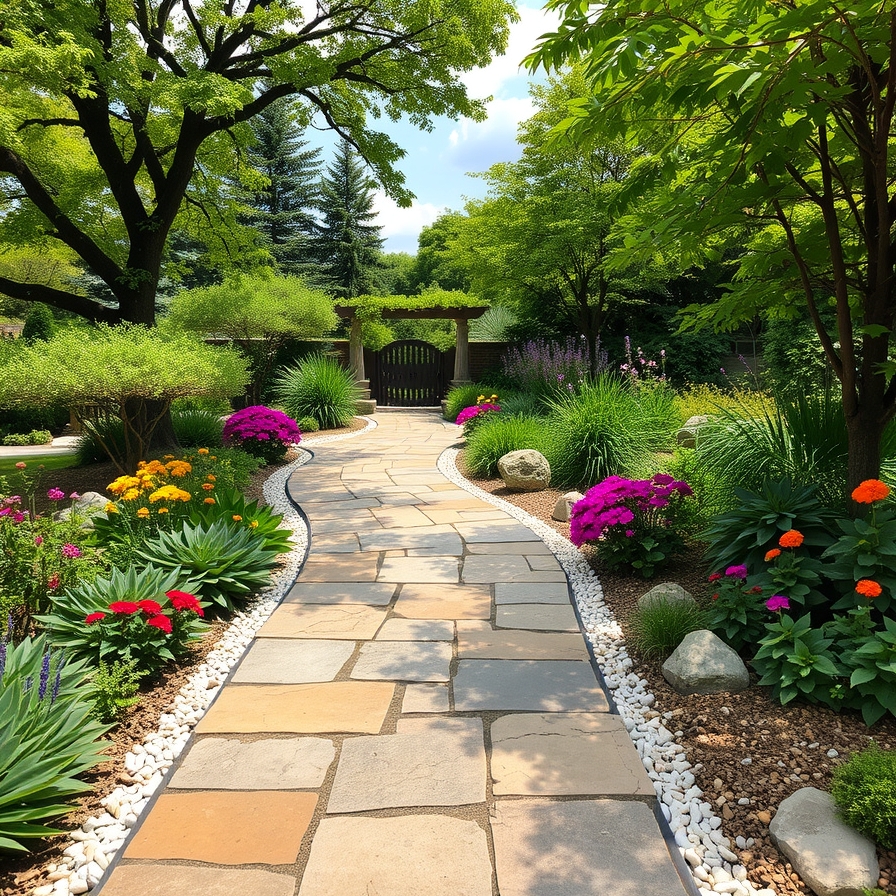
Flagstone creates a beautiful, high-end path. Each stone is unique. The path looks like it belongs in nature. Flagstone is more expensive. It is also heavier to work with.
Lay the flagstone pieces on the ground first. Arrange them like a puzzle. Leave a gap of about one inch between stones.
You can set flagstone in two ways. The first way is on a sand base. This is easier. Dig a trench three inches deep. Fill it with sand and level it. Place the stones and tap them down.
The second way is with a mortar base. This is more permanent. It is best for areas that freeze. You need a concrete foundation. This method is harder for a DIY project.
After the stones are set, fill the gaps. You can use gravel, sand, or soil. For a garden look, plant low-growing plants like thyme in the cracks.
7. Recycled Materials Path
This idea is creative and eco-friendly. You use materials that others throw away. Old wine bottles, broken concrete, or scrap wood can become a path.
Broken concrete pieces are called “urbanite.” You can often get them for free. Lay them like flagstone. The irregular shapes make a cool, modern path.
Glass bottles can be used too. Dig a shallow trench. Place the bottles on their sides. Pack soil around them. The bottoms of the bottles create a colorful, shiny surface.
Scrap wood makes a good temporary path. Use old pallets or boards. Lay them directly on the ground. This is a quick fix for muddy areas.
A recycled path shows your personality. It is a fun project. It costs very little money.
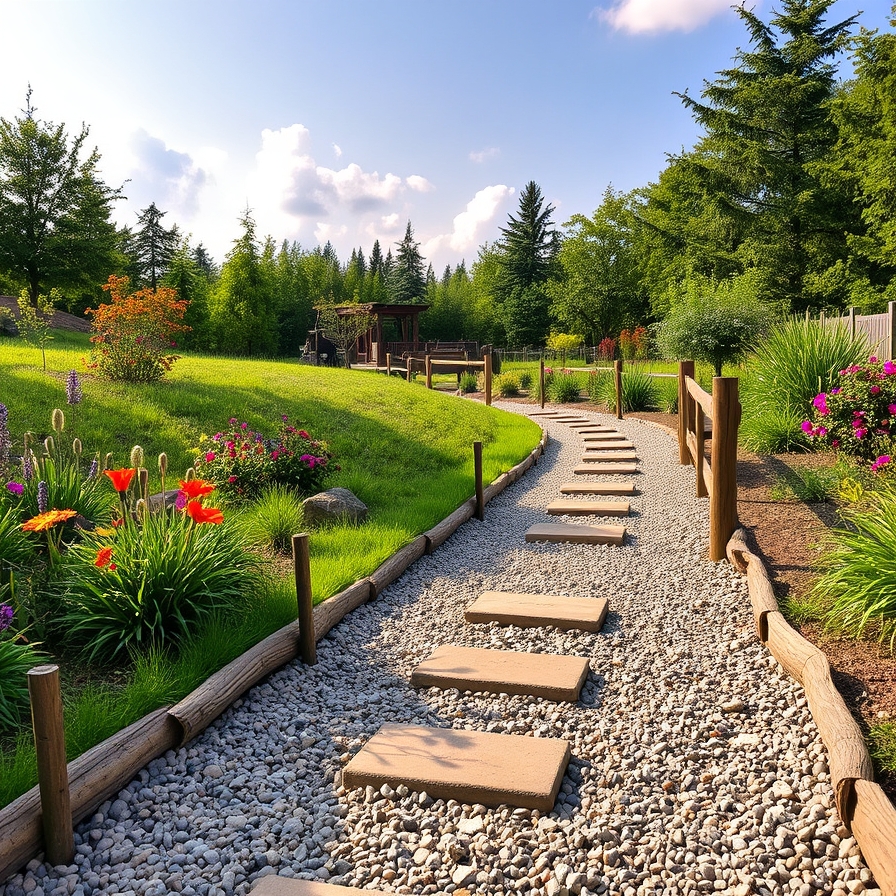
8. Easy Pea Gravel and Stepper Path
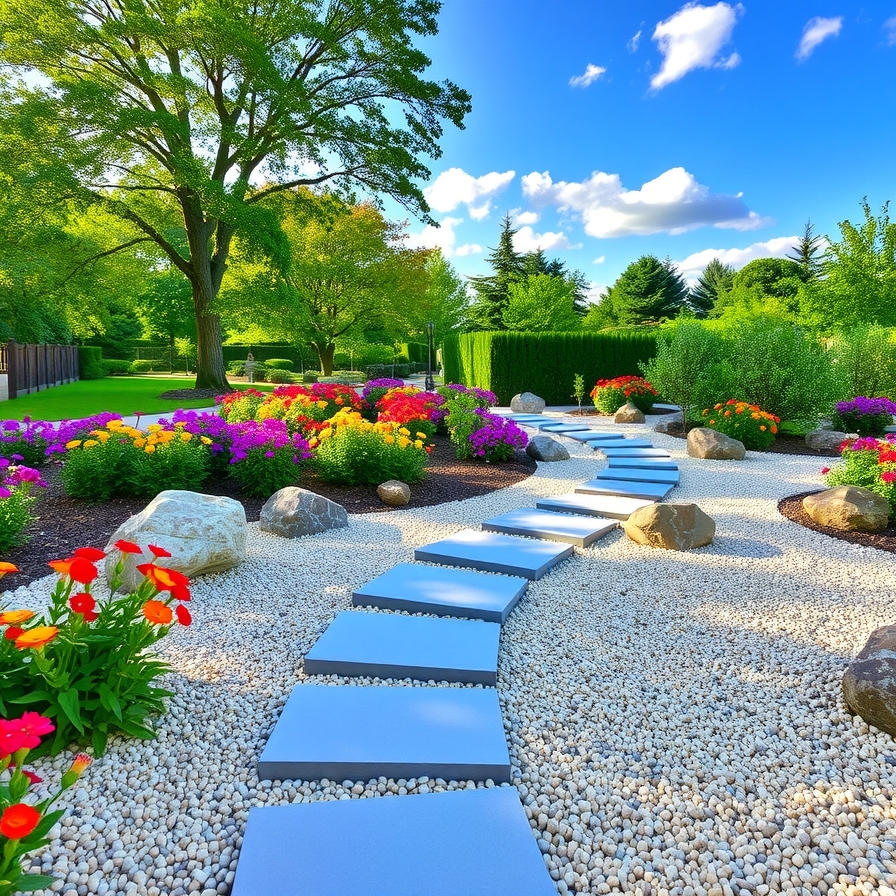
This idea mixes two materials. It combines the stability of stepping stones with the ease of gravel. The stones provide a solid place to walk. The gravel fills the space and looks attractive.
Lay large stepping stones along your path. Space them so you can walk comfortably from one to the next.
Secure the stones as described in the stepping stone section. Make sure each one is level and stable.
Pour pea gravel around the stones. Pea gravel is small, smooth, and comfortable to walk on. Use a rake to spread the gravel. Keep the gravel about half an inch below the top of the stones.
This design is practical. The gravel drains well. The stones give you a firm step. It is a very good looking path.
9. Wood Slice Stepping Path

A wood slice path is whimsical and natural. It looks like something from a fairy tale. You need slices from a large tree trunk. You can sometimes find these for sale.
The wood must be treated. Otherwise, it will rot quickly. Seal the wood slices with a wood preservative. This helps them last longer.
Lay the slices on the ground to plan your path. Dig a hole for each slice. The hole should be deep enough so the slice sits level with the grass.
Place a little sand in each hole. Set the wood slice on the sand. Push down and wiggle it to set it in place.
Fill the gaps around the slice with soil or mulch. The path will need maintenance. You might need to replace slices after a few years.
10. Simple Poured Concrete Path
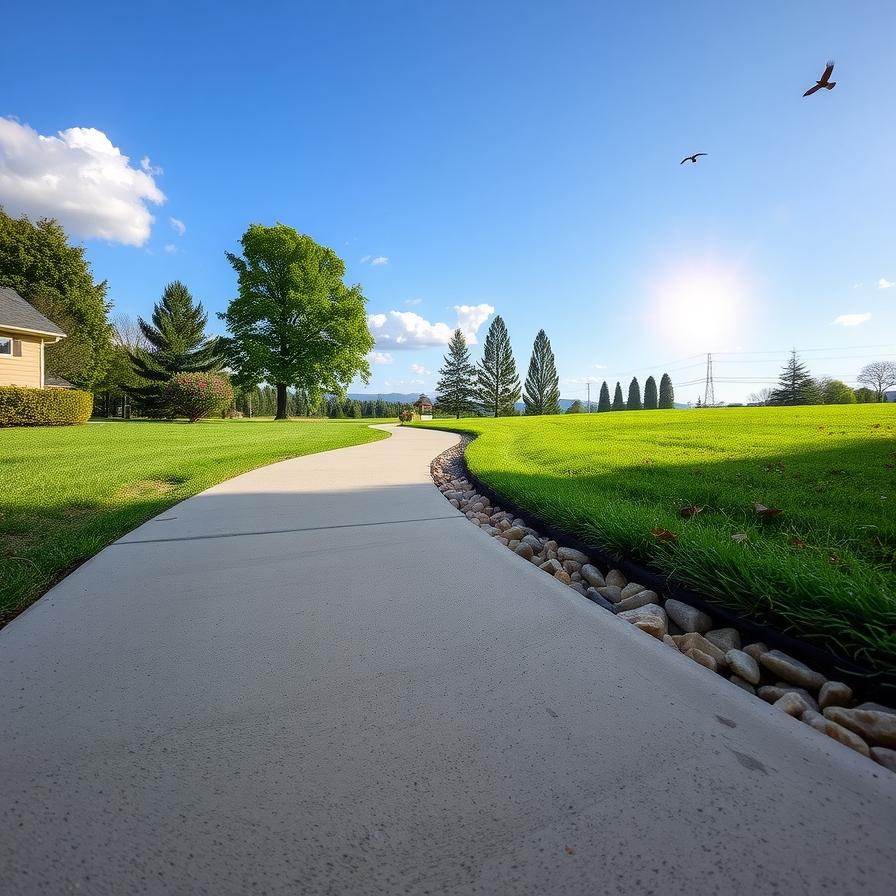
Poured concrete is a permanent solution. It is very strong. A simple straight path is a good DIY project. Curves and complex shapes are harder.
You must build a wooden form. Use 2×4 boards to create the edges of your path. Stake the boards into place so they hold their shape.
Prepare a gravel base inside the form. About four inches of gravel is good. Tamp it down firmly.
Mix the concrete according to the instructions. Pour the concrete into the form. Use a shovel to spread it. Then, use a long board to screed the surface. Move the board back and forth to make the concrete level.
Smooth the surface with a concrete float. Let the concrete set for a few days before you walk on it. Keep it wet for the first day to help it cure strong.
Frequently Asked Questions (FAQs)
What is the cheapest DIY walkway idea?
A mulch or gravel path costs the least. These materials are easy to find. They do not need special tools to install.
How do I keep weeds out of my walkway?
Landscape fabric is the best solution. Place it under gravel, mulch, or stones. It blocks weeds but lets water drain.
What is the easiest walkway for a beginner?
Stepping stones are the easiest. You just dig holes and place the stones. A gravel path is also very simple.
How wide should a walkway be?
A main path to your door should be at least 48 inches wide. A garden path can be narrower, about 24 to 36 inches.
Do I need a border for my gravel path?
Yes, a border is very important. It holds the gravel in place. Without a border, gravel will spread into your lawn and garden.
How long does a DIY walkway take to build?
A simple path can be built in a weekend. A complex path with bricks or pavers might take two weekends.
Can I build a path without digging?
Yes, but it will not last as long. You can place stepping stones directly on the grass. They might shift over time. A proper base makes the path stable.
Conclusion
Building your own walkway is a rewarding project. You save money. You add beauty and function to your home. The best path for you depends on your style, your budget, and your skills.
Choose an idea that excites you. Start with a simple project like gravel or stepping stones. Follow the steps carefully. Prepare a good base. This is the secret to a long-lasting path.
Your new path will guide your steps for years. It will make your home more welcoming. Grab your shovel and start building. Your perfect DIY walkway is waiting for you.
Read More: