Discover easy DIY shelving ideas for every space and skill level. Build custom, affordable storage using floating shelves, repurposed crates, pipes, and reclaimed wood. This guide provides simple, creative projects to maximize your storage without a complex toolkit.
Tired of clutter with nowhere to go? You’re not alone. Finding storage that fits your space, style, and budget is a common frustration. But what if you could create custom, beautiful shelves yourself? This guide is your starting point for simple, achievable projects that deliver maximum impact.
We’ve curated a list of creative, beginner-friendly ideas that require minimal tools and cost. From sleek floating shelves to rustic repurposed projects, you’re about to find the perfect inspiration to finally get organized. Let’s explore the best DIY shelving ideas to transform your space.
DIY Shelving for Small Spaces & Apartments
Living in a small space is a design challenge. You need to be smart with every inch. The goal is to add storage without making a room feel crowded. The best solutions go up, not out. They use areas we often forget.
An above-the-door shelf uses wasted space. It is a shallow shelf placed over a door frame. It is perfect for storing things you do not use every day. Think of extra linens or out-of-season clothes. You can buy a ready-made shelf or build a simple wooden box. No one will see it, but you will love the extra space.
A narrow ladder shelf is a classic choice. It leans against the wall. This takes up very little floor space. The shelves are small but useful. They are great for holding books, plants, or photos. You can find skinny ladders at thrift stores. Or you can build one with a few pieces of wood. The American Cleaning Institute suggests that vertical storage like this can significantly reduce clutter, making cleaning easier.
Do you have a sunny window? Build a window frame shelf. This shelf sits on the frame inside your window. It creates a perfect spot for plants to get light. Your herbs and succulents will thrive there. It makes your window a beautiful feature. This idea turns a simple window into a tiny greenhouse.
Creative & Repurposed DIY Shelf Ideas
The most unique shelves come from old things. Repurposing items is creative and green. It gives a second life to objects that might be thrown away. Your shelf will be a one-of-a-kind piece of art.
Old drawers have a built-in box shape. They are almost already shelves. Sand off any rough edges. You can paint them or leave them worn. Then, nail them directly to your wall. They make deep, charming shelves for books or toys. Group a few together at different angles for a fun look.
A vintage wooden ladder is full of character. Simply lean it against a strong wall. The steps become ready-made shelves. You can display blankets on the lower steps. Use the higher steps for lighter items like pictures. This is a very fast project. There is no building required. Just find a ladder you love.
This idea is pure magic. Use strong, hardcover books as the brackets themselves. You need a special metal bracket that screws into the wall. The first book slides onto this bracket. The weight of the other books stacked on top holds it all in place. It looks like your books are floating. It is a stunning way to show off your favorite novels.
DIY Corner Shelves: Utilizing Dead Space
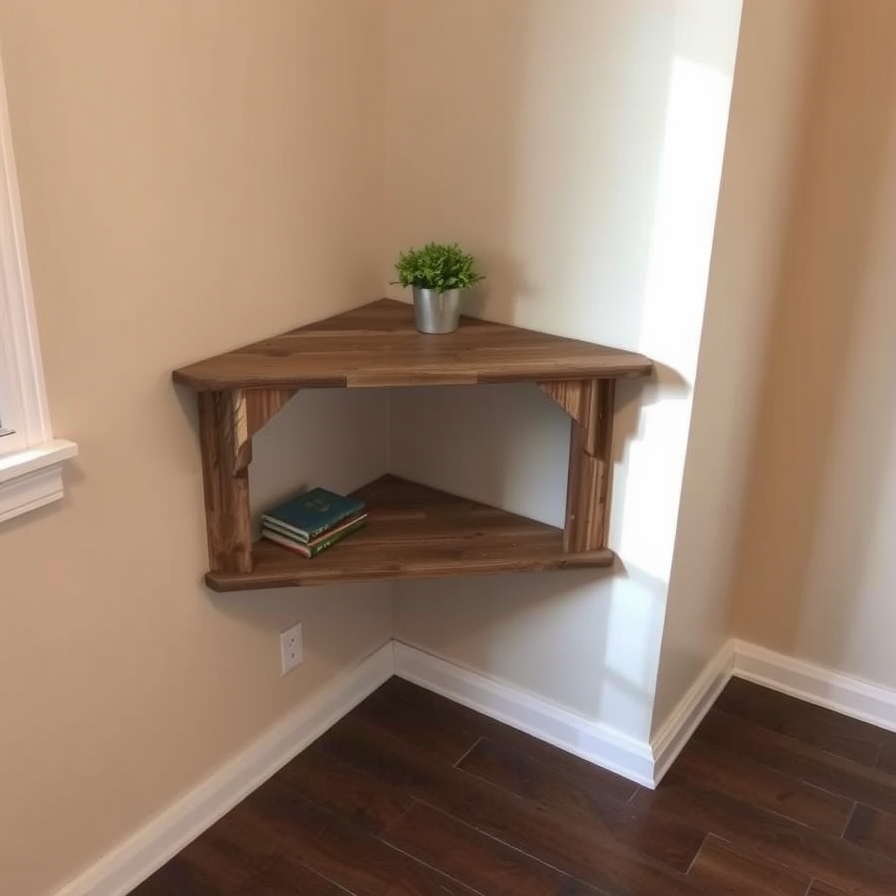
Corners are the most forgotten spaces in a home. They often sit empty. But a corner is a perfect nook for a shelf. Using corners frees up your main walls. It makes a room feel more open and organized.
A triangle shelf fits perfectly into any 90-degree corner. You can make one from a single square board. Cut it diagonally from corner to corner. This gives you two triangle shelves. Sand the edges until they are smooth. Mount them on the wall with simple brackets. They are great for holding small plants, candles, or perfume bottles.
For a more advanced project, build a floating corner shelf. This requires cutting the shelf board at a 45-degree angle. You then join two pieces together to form the corner. They attach to a special hidden corner bracket. This creates a seamless look. It appears that the shelf is growing right out of the wall. It is a modern and sleek way to use corner space. The Family Handyman offers a trusted guide on safely finding and drilling into wall studs, which is crucial for installing any floating shelf securely.
Beginner-Friendly & No-Tool DIY Shelving Ideas
You do not need to be a master builder. You do not need a garage full of tools. These projects are perfect for your first DIY adventure. They are simple, safe, and surprisingly stylish. You can build them in a single afternoon.
Start with the tension rod shelf. It is a clever way to use a corner. You just need two tension rods and a wooden board. Cut the board to fit your space. Sand it smooth. Then, place it on the rods you’ve set between two walls. It is that easy. This is a great project for renters because it causes no wall damage.
Another classic idea is cinder block and wood plank shelving. This project could not be simpler. Stack the blocks in a stable pattern. Then, place wooden planks across the top. You can create a small bookcase or a large room divider. You can even paint the blocks to match your room’s color. The National Wood Flooring Association offers a great guide on choosing the right type of wood plank for your projects, which is useful here.
For a more polished look, try leather strap shelves. You will need a few tools for this, but not many. Buy pre-cut wood shelves from a hardware store. Attach sturdy leather straps to the back with strong screws. Then, hang the straps on a heavy-duty wall hook. This creates a beautiful, floating effect. It is a very easy way to add a warm, natural touch to any room.
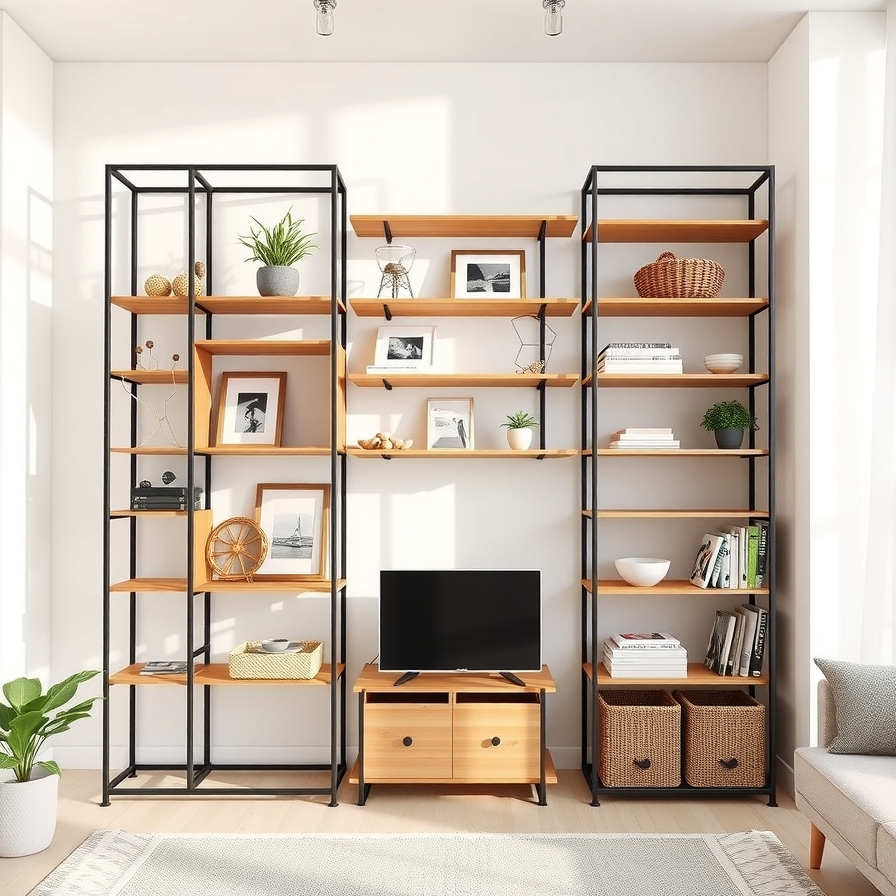
DIY Floating Shelves: Modern & Space-Saving Designs
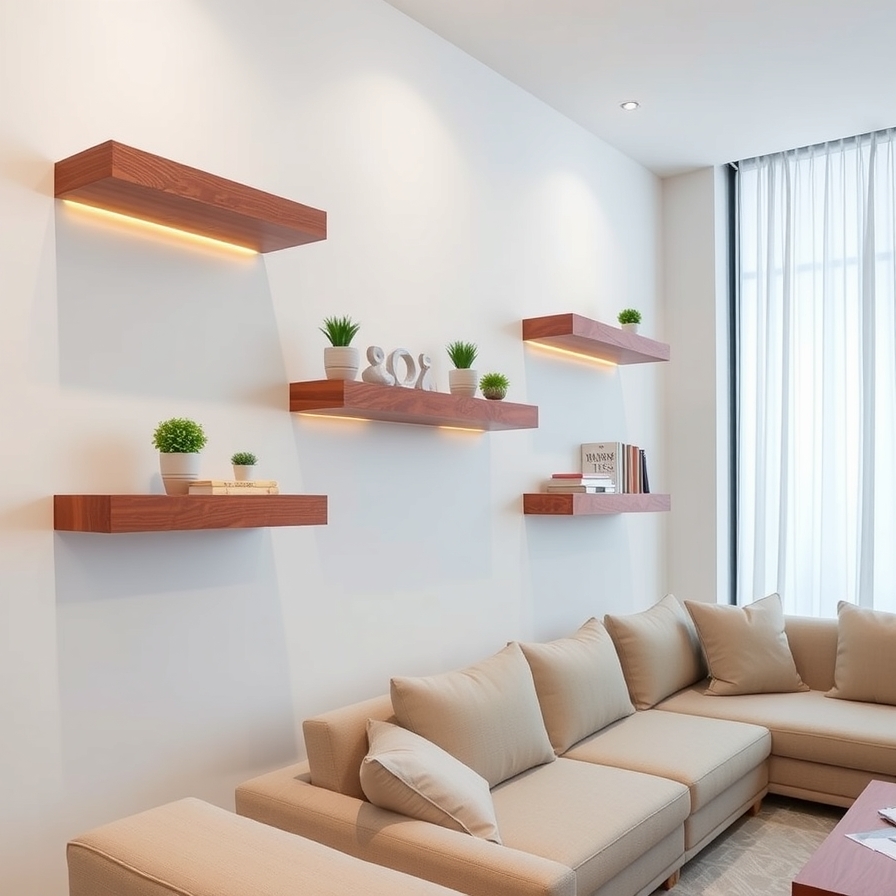
Floating shelves are a modern favorite. They look clean and save space. They make a room feel bigger. The shelf appears to magically stick to the wall. The secret is a hidden support bracket inside the shelf.
You can build simple wooden floating shelves with a hidden bracket. This is the most common method. You first find the wall studs using a stud finder. You then securely attach a metal bracket to the wall. Finally, you slide the wooden shelf with a hidden channel onto the bracket. The Spruce Crafts has an excellent tutorial on building these classic shelves that is perfect for beginners.
For an industrial style, use pipes and wood. This design uses black iron pipes as the visible supports. The pipes are both the bracket and the decoration. You attach flanges to the wall and the ceiling for extra support. Then, you screw the pipes into the flanges. Finally, you rest a wooden plank on the pipe arms. It creates a strong, sturdy shelf with a cool, rugged look.
The most eye-catching option is the invisible floating bookshelf. This design uses a special bracket that is hidden behind a single book. The bracket is strong metal. You screw it directly into a wall stud. Then, you slide the first, large hardcover book onto the bracket. The other books stack on top. It looks like your books are defying gravity. It is a fantastic conversation starter.
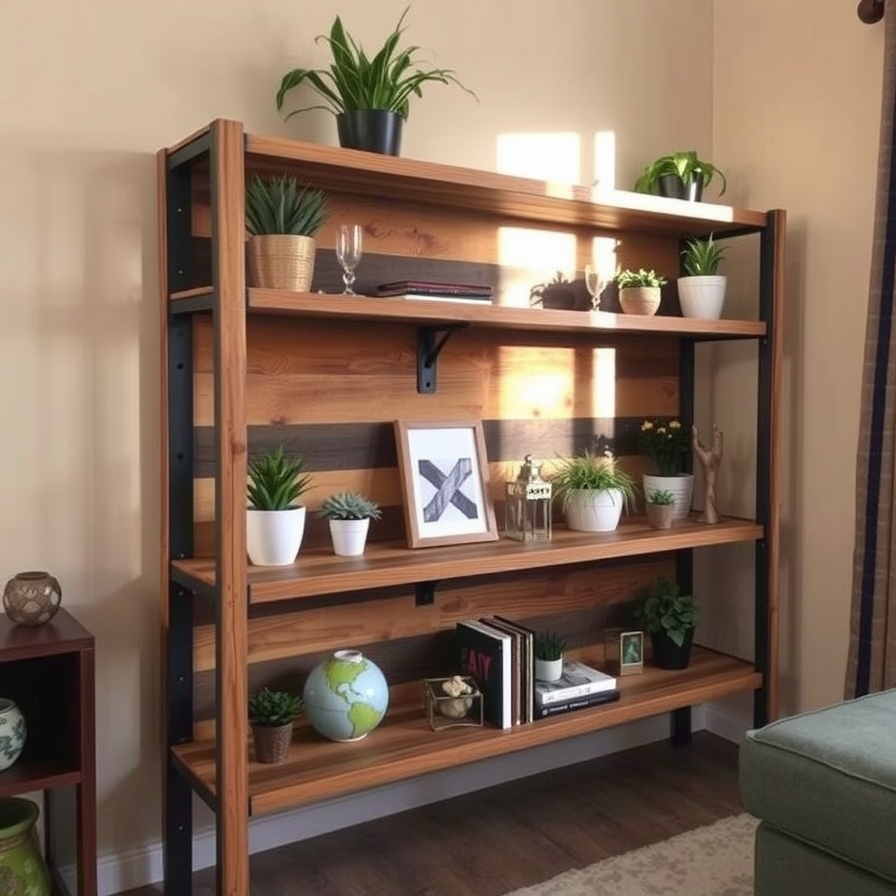
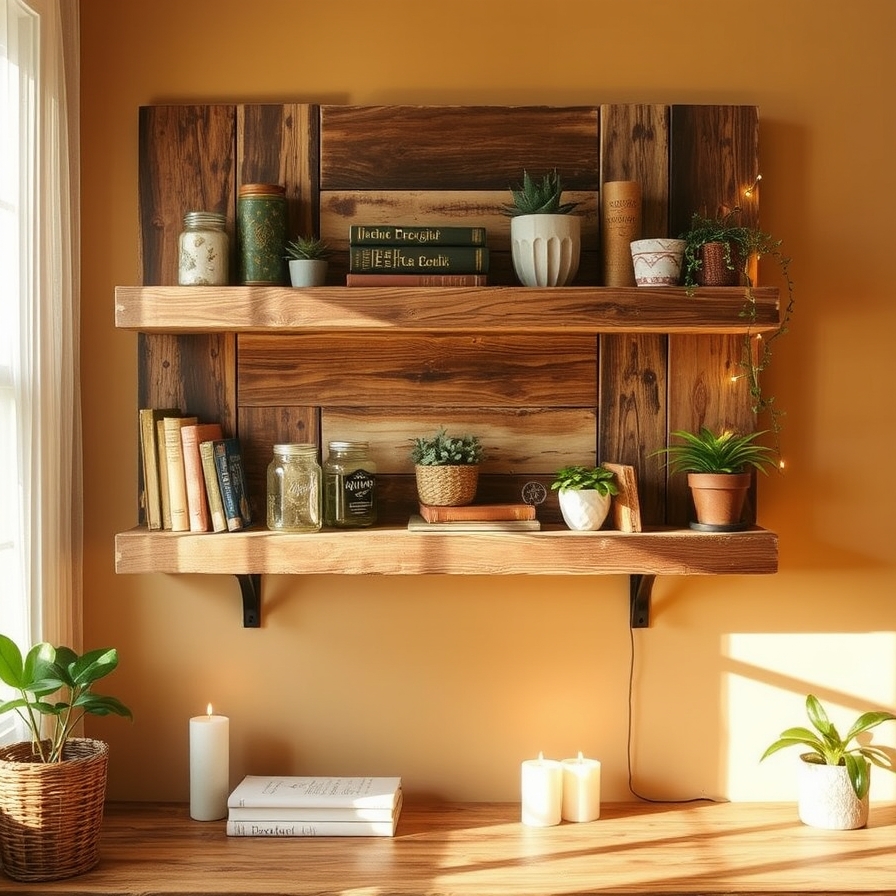
Reclaimed Wood & Rustic Shelf Projects
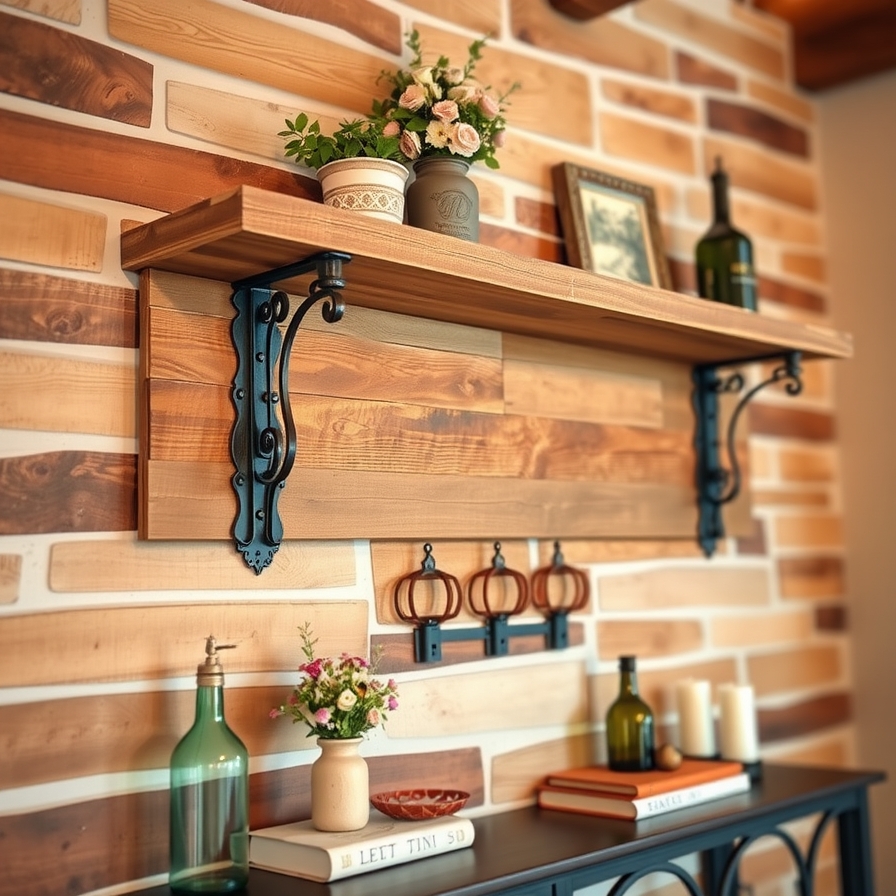
Reclaimed wood has character. Each piece tells a story with its old nail holes, saw marks, and unique color. Building with it is eco-friendly. It gives your home a warm, rustic feel that new wood cannot match.
A live edge shelf keeps the tree’s natural contour. The edge of the wood is not straight. It is wavy and bark-covered. You sand it smooth and treat it with oil. Then, you mount it on strong metal brackets. This shelf becomes a piece of natural art on your wall. It is perfect for displaying a small plant or a special decoration.
Old wooden crates are perfect for building. You can find them at flea markets or farms. Simply sand them down to avoid splinters. You can leave them natural or paint them your favorite color. Then, stack them or nail them together on a wall. You can create a large, modular storage unit. Some crates can even be turned on their side to make small cubbies for toys or books.
Do not forget about pallet wood. Pallets are often free. You can take them apart to get individual boards. These boards are great for building wall shelves. You can add hooks to the bottom of the shelf for hanging mugs or keys. This makes a handy entryway organizer. Always ensure any pallet wood you use is safe and properly cleaned. The EPA provides guidelines on how to identify and safely handle treated wood, which is an important safety step for this project.
Frequently Asked Questions (FAQ)
What is the cheapest way to make DIY shelves?
Use materials you can find for free or very low cost. Reclaimed wood from old pallets or crates is a top choice. Cinder blocks and scrap wood planks are also very cheap. You can often find these items being given away. The key is to be creative and see the potential in everyday objects.
What are the easiest DIY shelves to build for a beginner?
The easiest shelves need few tools and simple steps. Tension rod shelves require no tools at all. Cinder block shelves just need you to stack them. For a more finished look, pre-cut wood shelves with simple brackets are very easy. The DIY Network has a fantastic collection of “Weekend Project” ideas that are perfect for beginners looking for fast and easy builds.
How do you make sturdy DIY floating shelves?
Sturdiness is all about the bracket and the wall. You must find the wall studs. Use a stud finder to locate them. Always screw the heavy-duty hidden bracket into the studs, not just the drywall. For the shelf itself, use a strong, solid wood like oak or maple. A hollow shelf can be strong if it has a good internal frame.
What is the best wood to use for DIY shelves?
It depends on your project and budget. Pine is soft and easy to cut, making it good for practice. Plywood is strong and good for large shelves. For a beautiful finish, hardwoods like oak or maple are best. They are very strong and will not sag over time. The Wood Database is an excellent resource for comparing the hardness and best uses of different wood types.
How can I make sure my shelves are level?
This is a very important step. Use a long spirit level when you mark your bracket points. Do not trust your eyes. For a very long shelf, a laser level is a great tool. You can also measure carefully from the ceiling or floor, as these are usually level.
Conclusion
You now have a world of DIY shelving ideas at your fingertips. We covered projects for every style. From modern floating shelves to rustic crates. There are ideas for small apartments and big blank walls.
The best project is the one that excites you. Start with something simple. Enjoy the process of building something with your own hands. You will end up with custom storage that fits your space perfectly. And you will feel the pride that comes from a DIY job well done.
Read More: