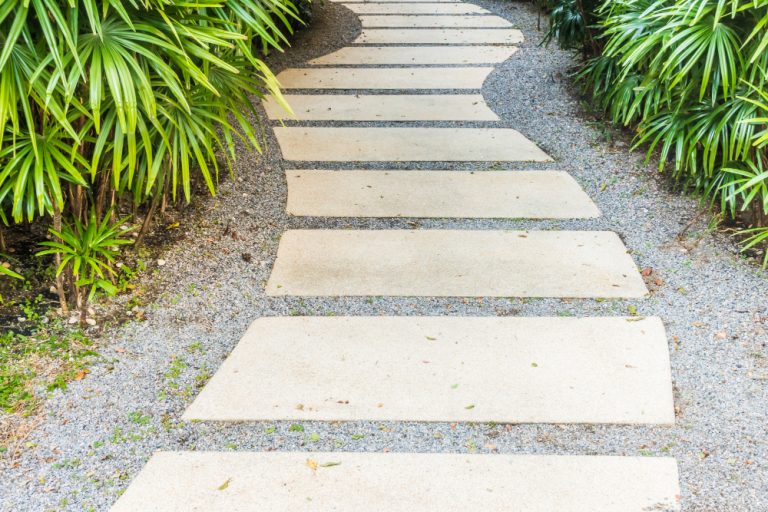
The best DIY flooring ideas balance beauty, budget, and ease. Top choices include click-lock vinyl plank for its waterproof durability, peel-and-stick tiles for simple projects, and painted concrete for ultra-low cost. This guide explores these options and more to help you transform your floors affordably.
Tired of staring at those dull, scratched, or just plain outdated floors? You dream of a fresh, new look, but the quotes from professional installers can be enough to make you put the project off forever. You’re not alone. Many homeowners feel stuck between the high cost of professional renovation and the daunting uncertainty of a DIY project.
Good news: you’ve come to the right place. Achieving beautiful floors doesn’t require a massive budget or expert skills—just the right guidance. We’ve compiled the most brilliant, beginner-friendly, and budget-conscious DIY flooring ideas to give your home a stunning transformation without the stress.

Factors to Consider Before Choosing Your DIY Flooring
Do not pick a floor just because it looks nice. The wrong choice can lead to a frustrating project and a ruined floor. Think about these three things first. They will guide you to the perfect choice for your home and your skills. This planning makes your DIY project fun and successful.
Your Skill Level: Beginner vs. Intermediate Projects
Be honest about your experience. This is the key to a good result.
Beginner projects need few tools. They are forgiving of small mistakes. The best options use simple methods. Peel-and-stick tiles are a great example. You just remove the backing and press them down. Click-lock luxury vinyl plank (LVP) is another top choice. The pieces snap together like a puzzle. You can often install it right over an old, flat floor.
Intermediate projects need more tools and patience. They require more precision. Installing laminate flooring means you must measure carefully. You may need to use a saw to cut boards. Glue-down engineered hardwood is another intermediate task. You must spread adhesive evenly and set each plank straight. The International Association of Certified Home Inspectors (InterNACHI) offers great guides on subfloor preparation, which is vital for these projects.
Setting a Realistic Budget (Cost per Sq. Ft.)
Your budget decides your options. Remember to include the cost of tools and underlayment.
| Flooring Type | Estimated Cost per Sq. Ft. (Material Only) | Best For |
|---|---|---|
| Painted Concrete | $$0.50 – $2.00$ | Basements, garages, ultra-low budget |
| Peel-and-Stick Vinyl Tile | $$1.00 – $3.00$ | Low-traffic rooms, renters, beginners |
| Sheet Vinyl | $$1.50 – $5.00$ | Kitchens, bathrooms, seamless look |
| Laminate Plank | $$2.00 – $7.00$ | Living rooms, bedrooms, wood look |
| Luxury Vinyl Plank (LVP) | $$3.00 – $10.00$ | All rooms, waterproof, top durability |
Room Location: Moisture, Traffic, and Subfloor
Where you install the floor matters most.
Moisture is your biggest enemy in wet areas. For bathrooms, laundry rooms, and kitchens, you need a waterproof option. Luxury vinyl plank (LVP) and sheet vinyl are perfect. Avoid laminate or real wood here. Spills can warp and ruin them.
Traffic tells you how tough your floor must be. A busy entryway or living room needs a durable, scratch-resistant surface. LVP and laminate handle this well. A bedroom can use a softer, less expensive option.
Your subfloor is the foundation. It must be clean, dry, and flat. You can install many floors over concrete, plywood, or even existing vinyl. But you cannot install them over loose or rotten boards. The Portland Cement Association provides details on acceptable moisture levels for concrete subfloors, a critical step before installation.
Easy-Peasy DIY Flooring for Beginners
Start here if you are new to DIY. These ideas are simple. They need basic tools. You can finish a room in a weekend. The results will look amazing and give you confidence for your next project.
Peel-and-Stick Vinyl Tile Ideas

These tiles have adhesive on the back. You just peel off the paper and stick them to the floor. It is that easy.
Pros and Cons
The biggest pro is ease. You need a utility knife, a ruler, and not much else. They are also very cheap. You can create cool patterns like herringbone without any glue. The main con is durability. They are not as tough as other floors. They can loosen in very hot or cold rooms. The adhesive may not stick well to uneven floors.
Best Rooms to Use It In
Use these in low-traffic and dry areas. They work well in half-baths, laundry rooms, and closets. They are also a great choice for renters who cannot make permanent changes. Avoid using them in main bathrooms or kitchens where water is common.
Inspiring Patterns (Herringbone, Chevron)
Do not just lay them in a simple grid. Get creative! Use two colors to make a checkerboard pattern. Arrange rectangular tiles in a herringbone or chevron pattern. This makes your floor look custom and expensive. It is still an easy project for a beginner.
Luxury Vinyl Plank (LVP) Click-Lock Installation

This is the most popular DIY floor for a reason. It looks like wood or stone. It is completely waterproof. And it is very easy to install.
Why It’s the #1 DIY Choice
LVP is a superstar. It is waterproof, making it safe for any room. It is durable and resists scratches from pets and furniture. The click-lock system is genius. You angle one plank, click it into the one next to it, and it locks tight. You do not need glue or nails. You can also find many styles at stores like The Home Depot to see the range of options.
How to Install Over Existing Floors
You can often install LVP right over your old floor. This saves huge time and effort. The rule is that the old floor must be solid, clean, and flat. You can put it over old vinyl, tile, or even wood. You do not need to rip anything up. Always use an underlayment if the manufacturer recommends it. This provides cushion and sound absorption.
Carpet Tiles: Comfort and Customization

For a soft floor underfoot, carpet tiles are the easy DIY solution. They are squares of carpet with adhesive backing.
They are simple to place. If one tile gets stained, you can pull it up and replace it. You can mix and match colors to create unique patterns. This is perfect for a playroom or home office. They add a soft, comfortable feel without the hassle of stretching a full carpet.
Creative & Budget-Friendly Floor Makeovers
You can transform your floors with paint and creativity. These ideas cost very little. They can make an old floor look brand new. This is perfect for concrete slabs or tired wooden floors.
Painted Concrete Floor Designs (Garages, Basements)

Do not cover up your concrete floor. Turn it into a feature. First, clean the concrete very well. Then use a special concrete primer. This helps the paint stick. Next, apply epoxy paint or concrete stain. These paints are tough. They can handle cars and heavy foot traffic. You can use stencils to add patterns. Try a checkerboard or a rug design. The result is a bright, clean, and durable floor. This is the cheapest way to update a garage or basement.
Stenciled Wood Floor Patterns

Do you have old wood floors that look dull? You can paint a beautiful pattern on them. Floor stencils make this easy. You do not need artistic skill. Secure the stencil to the floor with tape. Then use a small roller to apply paint. Move the stencil and repeat. You can create a fancy medallion in the center of a room. Or you can paint a border around the edges. Use a matte polyurethane sealant when you are done. This will protect your art from wear. This idea adds a custom, high-end look for very little money.
Whitewashing or Bleaching Old Hardwood

Do you want a light, modern wood floor? You can lighten your existing floors without sanding them down. Whitewashing is a simple technique. You mix paint with water and wipe it on the wood. Then you wipe it off. The paint stays in the grooves of the wood. This creates a weathered, beachy look. Bleaching wood is another method. It uses wood bleach to remove the natural color. This gives a more subtle, Scandinavian look. Both methods are much easier than a full sanding and refinishing job.
Frequently Asked Questions (FAQ)
Q: What is the absolute easiest flooring to install for a beginner?
A: For most beginners, peel-and-stick vinyl tiles or click-lock luxury vinyl plank (LVP) are the easiest. They require minimal tools. You can often install them right over your old floor. They are very forgiving for your first project.
Q: Can you install DIY flooring over existing tile?
A: Yes, in many cases! Click-lock vinyl plank and laminate can go right over tile. The tile must be firmly attached and level. The grout lines must be flat. You may need a special underlayment to create a smooth surface. This avoids any bumps.
Q: What is the cheapest DIY flooring option?
A: Painted concrete is typically the cheapest option per square foot. Peel-and-stick tiles and some sheet vinyl are also very budget-friendly. The cost depends on the style and brand you choose.
Q: Is DIY flooring actually cheaper?
A: Almost always. By eliminating labor costs, you save a huge amount of money. Labor can be 50% or more of a professional quote. You only pay for materials and any tools you need to rent or buy.
Q: What is the most durable DIY flooring?
A: Luxury Vinyl Plank (LVP) is known for its great durability. It is completely waterproof and very scratch-resistant. This makes it a top choice for busy homes with kids and pets. It will look good for many years.
Conclusion
Your dream floors are within reach. You have seen the options. You know what is easy and what is tough. You know what is cheap and what costs more. The best floor is the one that fits your life. Pick the idea you love. Gather your simple tools. Trust yourself to do it. You can transform your space from the ground up. Start your DIY flooring project this weekend. You will be amazed at what you can achieve.
Read More: