Every piece of art deserves a frame that speaks its own story. Store-bought frames often feel too predictable, while handmade ones carry charm, creativity, and character. A custom frame can turn a simple print into a statement piece or make a photo feel like a gallery treasure. Wood scraps, old windows, or even cardboard can become striking borders for your favorite artwork.
A splash of paint, a strip of fabric, or a few decorative accents can elevate the look instantly. The right frame doesn’t just protect art; it enhances its spirit and sets the tone for the entire room. DIY art frame ideas invite endless experimentation, from rustic farmhouse finishes to sleek modern styles. Every frame becomes a reflection of your taste and effort. With imagination and a few basic tools, walls gain depth, warmth, and stories worth admiring every day.
DIY Art Frame Ideas That Add Personality to Every Wall
Framing your own art makes your wall feel personal. It adds warmth and creativity to your home. You don’t need fancy tools or professional help. You can use simple materials from your home and still get beautiful results. Every idea below fits beginners, students, or anyone who enjoys crafting.
Each project brings a different mood — rustic, modern, playful, or vintage. Let’s explore ten detailed DIY art frame ideas you can try today.
1. Wooden Stick Frame
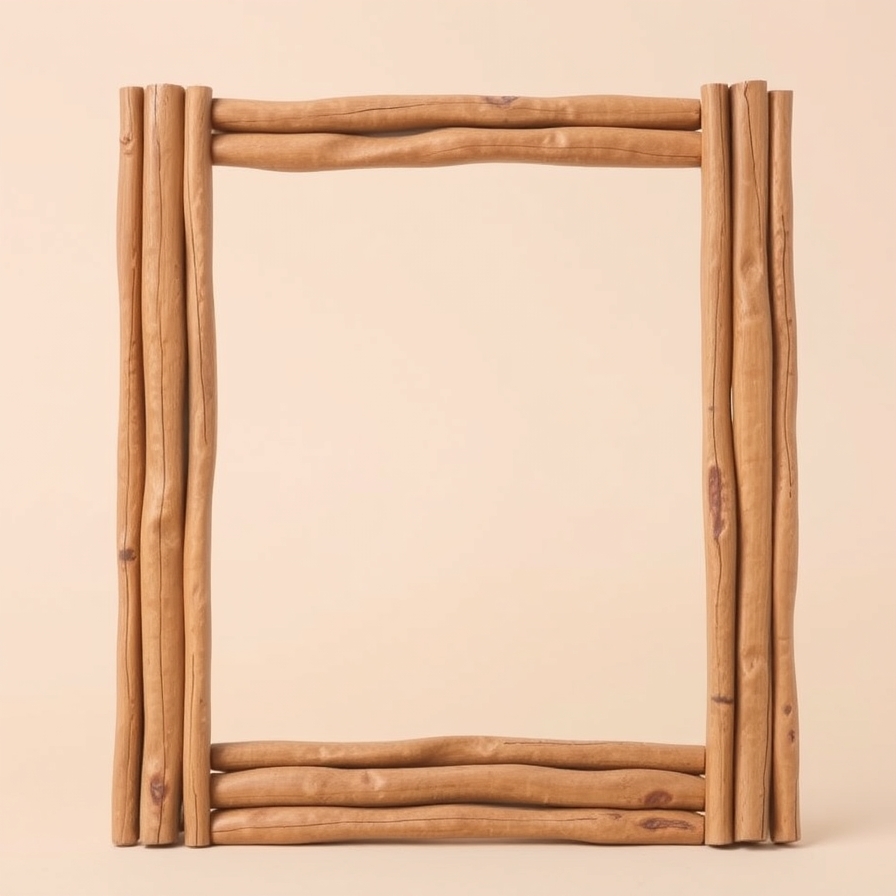
Wooden stick frames are simple but stylish. They give a natural, handmade feel to your wall. This design works well with small paintings, photos, or handmade prints.
Materials:
-
Craft sticks or small wooden sticks
-
Wood glue or glue gun
-
Scissors
-
Sandpaper
-
String or twine for hanging
-
Optional: paint, varnish, or decorative buttons
Steps:
-
Measure your artwork to know the frame size.
-
Lay out four sticks to form a rectangle or square shape.
-
Glue the corners together and let them dry.
-
Sand the edges for smoothness.
-
For a thicker border, add a second layer of sticks.
-
Paint the sticks or coat with varnish for a shiny finish.
-
Attach twine to the top corners for hanging.
Extra Tip:
For a rustic look, keep the wood unpainted. For a playful design, paint each stick a different color. This frame style looks lovely in bedrooms, kids’ rooms, or craft corners.
2. Cardboard Frame with Fabric Cover
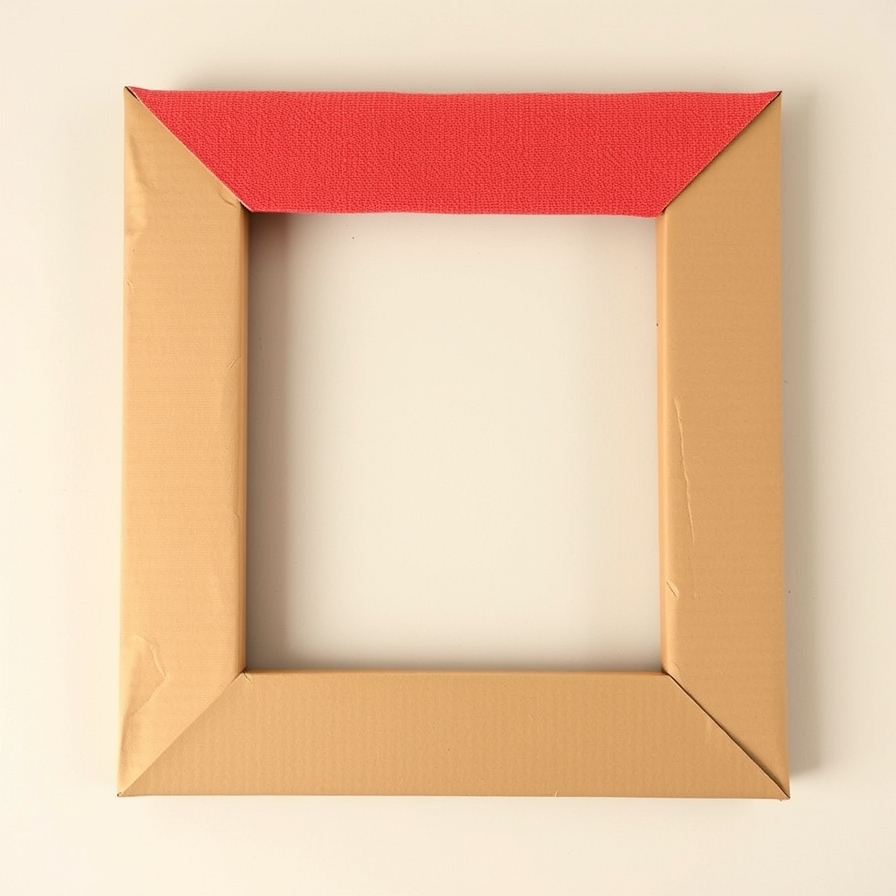
Cardboard frames are lightweight and easy to customize. Covering them with fabric adds texture and color. You can match the fabric pattern with your curtains or bed cover.
Materials:
-
Thick cardboard
-
Fabric pieces (cotton, linen, or printed fabric)
-
Glue
-
Tape
-
Scissors or box cutter
-
Ruler
Steps:
-
Cut two pieces of cardboard — one for the back and one for the front with a window opening.
-
Cut fabric slightly larger than the front cardboard.
-
Wrap fabric around it and glue the edges at the back.
-
Let it dry for a few minutes.
-
Place your artwork between the two cardboard layers.
-
Glue or tape them together.
Extra Tip:
For a clean edge, use fabric with small prints or solid colors. You can also add ribbon borders around the frame for decoration. This frame looks soft and cozy in any space.
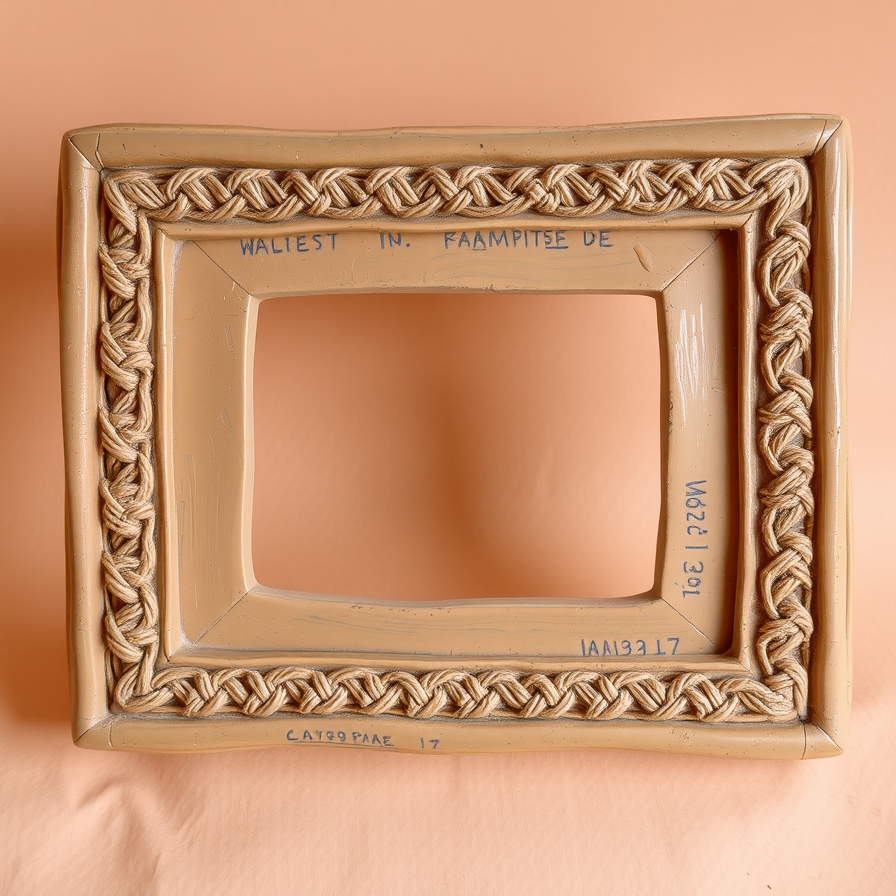
3. Rope Frame for Coastal Style
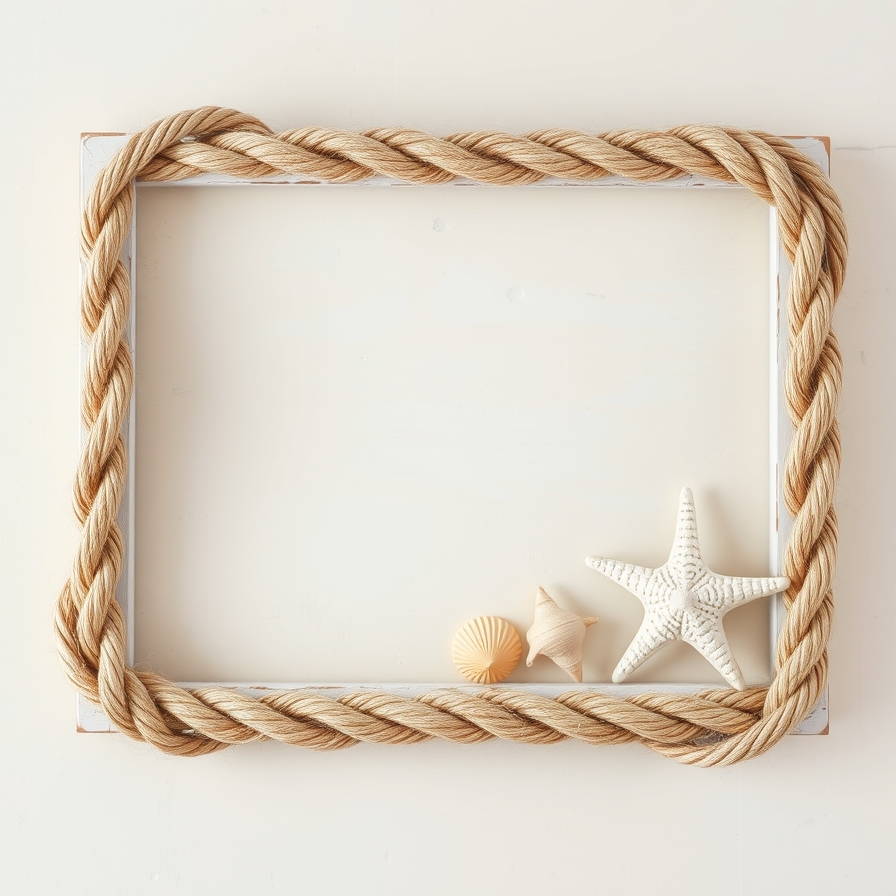
Rope frames bring a beach-like feel to your wall. They look amazing with ocean photos or shells. The texture gives a calm and natural vibe.
Materials:
-
Rope, jute, or sisal cord
-
Glue gun
-
Scissors
-
Cardboard or old frame as base
-
Shells, beads, or stones for decoration
Steps:
-
Measure and cut the rope according to frame size.
-
Start gluing the rope around the frame’s border.
-
Keep wrapping tightly without gaps.
-
Glue small shells or stones at the corners.
-
Attach a rope loop at the back for hanging.
Extra Tip:
Use white or beige rope for a coastal theme. Add blue paint touches to bring a sea vibe. This design looks good in bathrooms, hallways, or beach cottages.
4. Washi Tape Frame
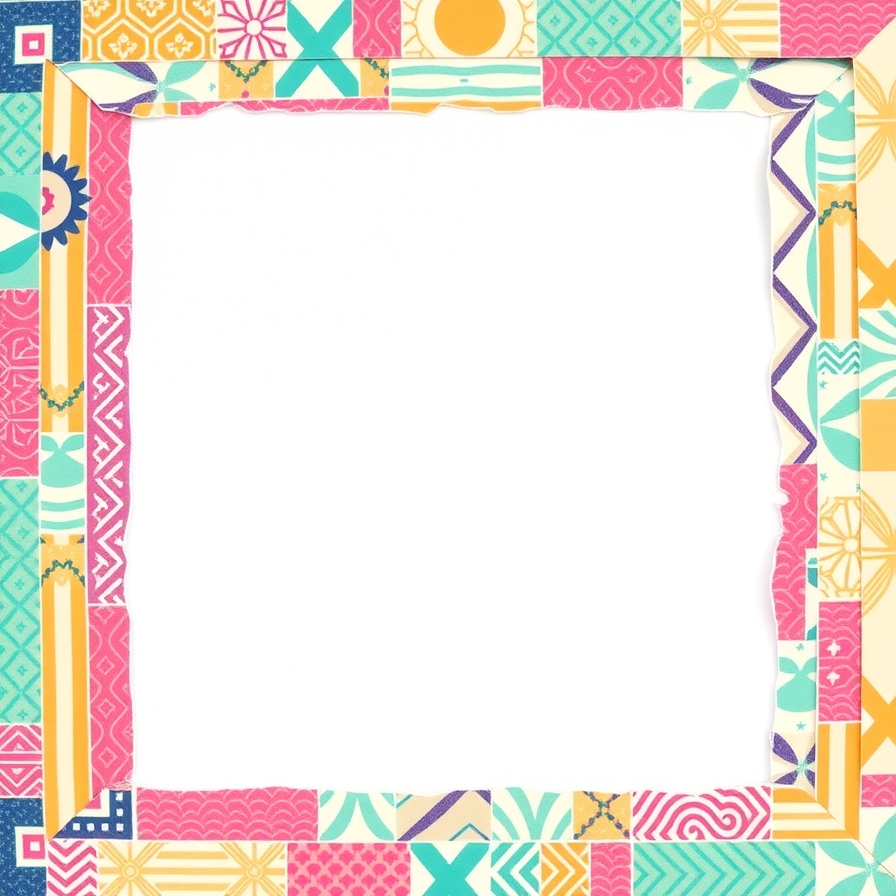
Washi tape frames are modern and temporary. They’re perfect for people who like changing their decor often. No nails or glue needed — just tape and creativity.
Materials:
-
Washi tapes in different colors and patterns
-
Scissors
-
Ruler
Steps:
-
Choose washi tape that matches your art color.
-
Stick the tape directly on the wall to form a frame around your artwork.
-
Use the ruler to keep lines straight.
-
Layer two or more tape colors for extra detail.
Extra Tip:
Metallic or patterned tapes look modern and fun. This idea is great for dorms, offices, or apartments where you cannot drill walls. You can change it anytime without damage.
5. Driftwood Frame
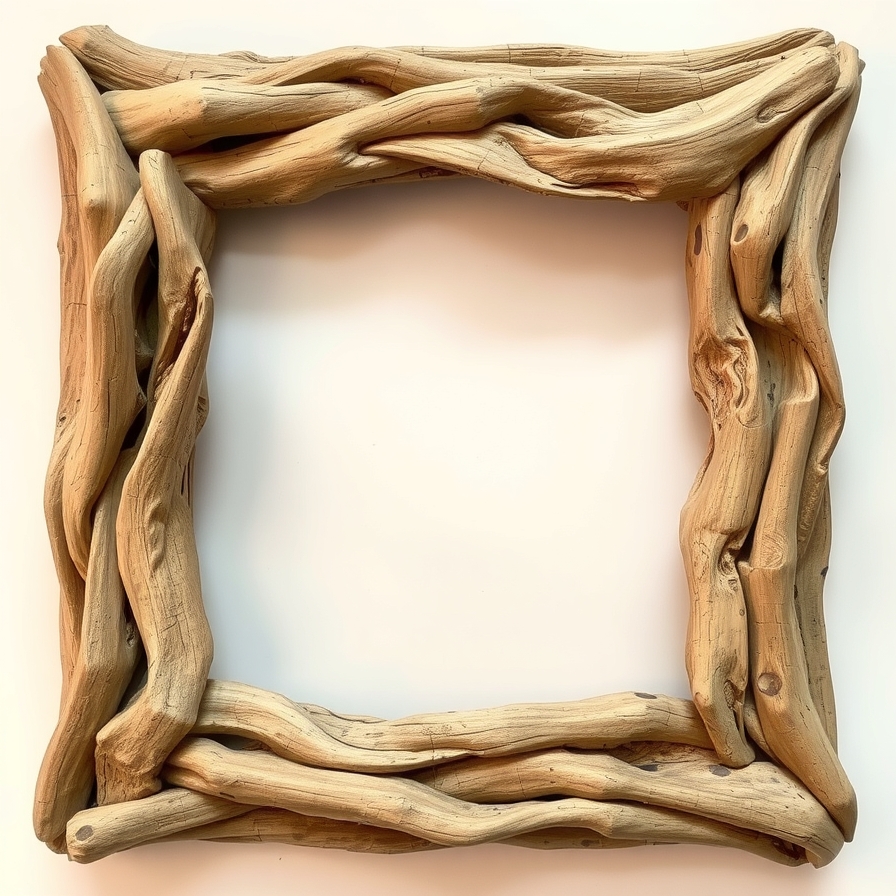
Driftwood frames bring a touch of nature indoors. Each piece of driftwood has a unique color and shape, which makes every frame one of a kind.
Materials:
-
Driftwood sticks
-
Glue gun or strong adhesive
-
Saw or knife
-
Twine for hanging
-
Sandpaper
Steps:
-
Cut driftwood pieces to match the sides of your art.
-
Arrange them on a flat surface to create a frame outline.
-
Glue the corners securely.
-
Once dry, sand sharp edges gently.
-
Tie twine at the top for hanging or lean it on a shelf.
Extra Tip:
Keep the natural texture visible. You can add small stones or tiny shells for decoration. Driftwood frames look perfect with nature photos, watercolor paintings, or handmade paper art.
6. Painted Scrap Wood Frame
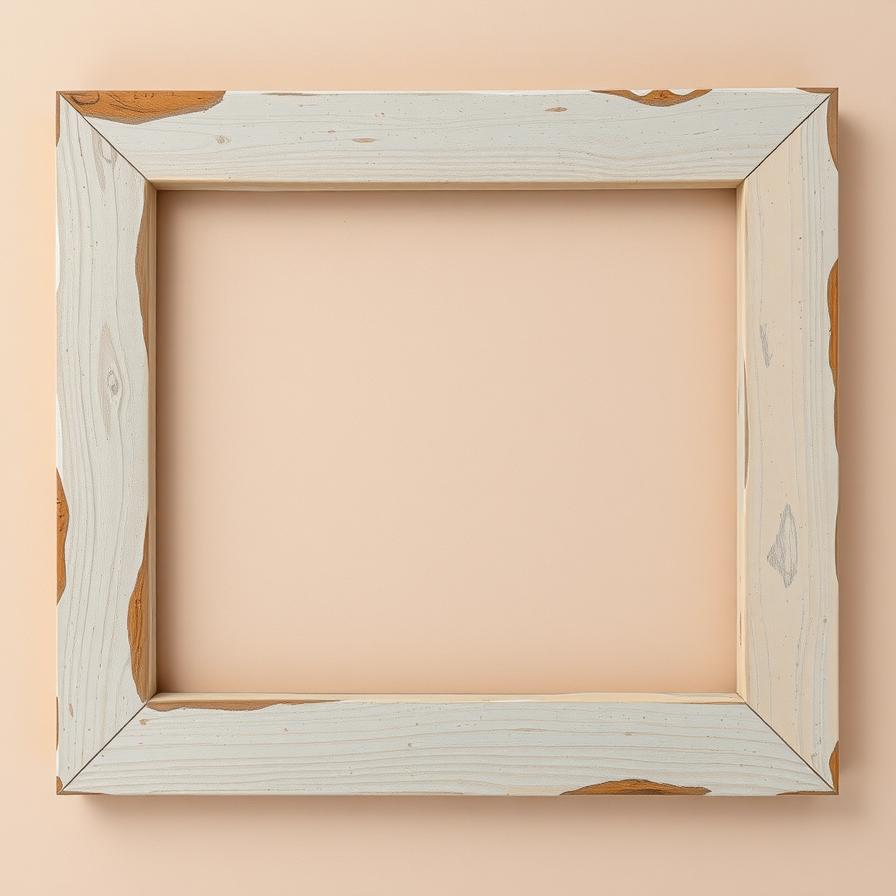
Old wood scraps can easily turn into stylish frames. This idea works well for both rustic and modern spaces.
Materials:
-
Scrap wood pieces
-
Nails or wood glue
-
Hammer or glue gun
-
Paint or spray paint
-
Sandpaper
-
Measuring tape
Steps:
-
Cut wood into equal lengths based on your art size.
-
Sand each piece for smoothness.
-
Paint the wood in your chosen color. Let it dry fully.
-
Nail or glue pieces together to form a frame.
-
Place your artwork at the back and secure with tape or small nails.
Extra Tip:
Use dark paint for a modern touch or leave it natural for a farmhouse look. You can also distress the paint using sandpaper for a vintage style.
7. Paper Roll Frame
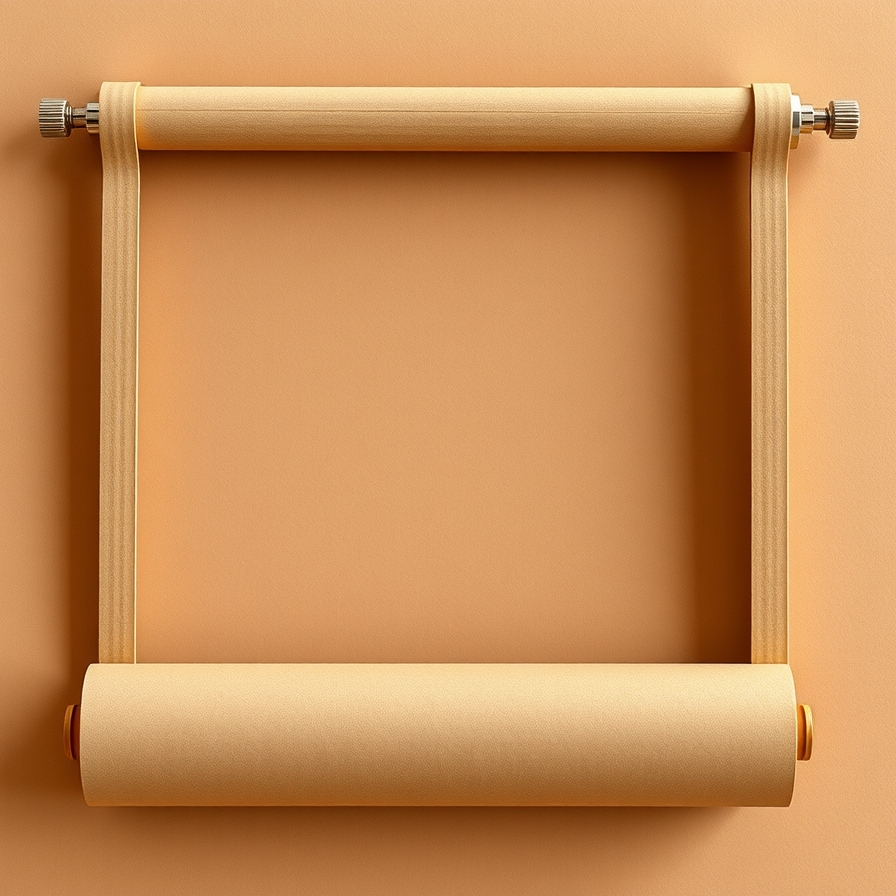
This recycled frame idea is eco-friendly and fun. It’s perfect for kids’ projects or colorful art displays.
Materials:
-
Empty toilet rolls or paper towel rolls
-
Glue
-
Scissors
-
Paint and brush
-
Cardboard base
Steps:
-
Cut rolls into thin rings or strips.
-
Paint them in bright or pastel colors.
-
Let them dry completely.
-
Arrange them on the cardboard in patterns like flowers, waves, or circles.
-
Glue them down and press gently.
Extra Tip:
You can also use shiny metallic paint for a creative finish. The texture adds a 3D effect, making simple art stand out. Kids love this craft because it’s colorful and easy.
8. Vintage Book Page Frame
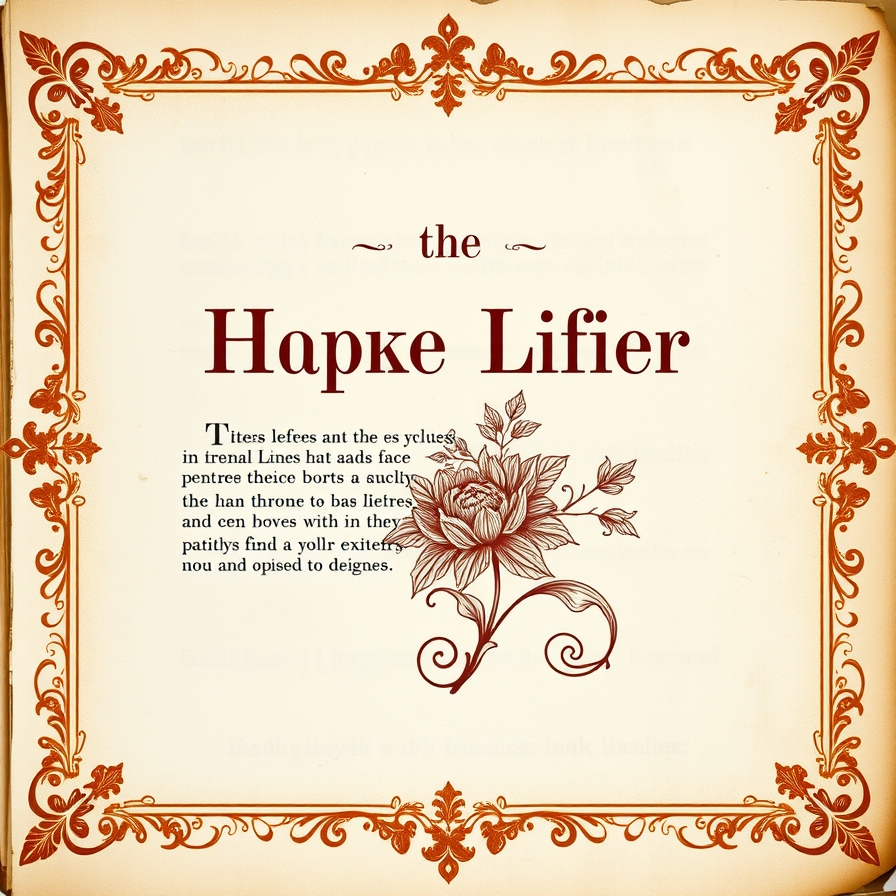
Book page frames bring a timeless charm. They fit perfectly with black-and-white photos or quotes. The soft paper tones create a cozy vintage feel.
Materials:
-
Old book pages, maps, or newspaper
-
Glue or Mod Podge
-
Paintbrush
-
Old frame or cardboard base
Steps:
-
Tear pages into medium-sized pieces.
-
Glue them one by one on the frame surface.
-
Cover all sides evenly.
-
Once dry, brush a layer of Mod Podge for protection.
-
Let it dry again before adding your art.
Extra Tip:
You can highlight words or quotes from the pages to match your art’s theme. A light brown wash of paint adds an aged look. This frame works beautifully for study rooms or reading corners.
9. Mirror Tile Frame
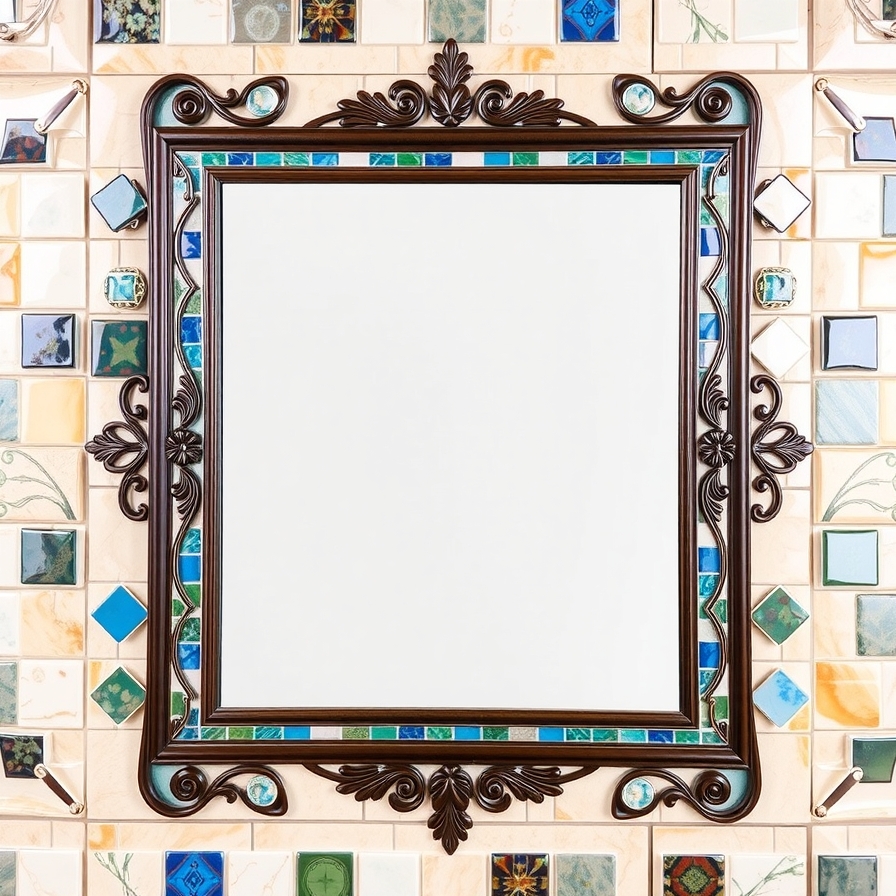
Mirror tiles make frames sparkle. They reflect light and make small spaces look larger. This design feels modern and clean.
Materials:
-
Small mirror tiles or mosaic mirrors
-
Wooden or cardboard frame
-
Strong adhesive
-
Soft cloth for cleaning
Steps:
-
Clean the surface of your frame.
-
Apply glue on one side and place mirror tiles carefully.
-
Continue until the border is covered.
-
Let it dry fully.
-
Wipe with a soft cloth to remove glue marks.
Extra Tip:
Use square mirrors for a neat look or mixed shapes for creativity. Place this frame near a light source to boost reflection. It’s perfect for minimalist rooms or bright art pieces.
10. Clay Frame
Clay frames give full creative control. You can shape, texture, and color them however you like. They work great as personalized gifts.
Materials:
-
Air-dry clay
-
Rolling pin
-
Knife or cutter
-
Paint
-
Glue
-
Optional: stamps, buttons, or leaves for design
Steps:
-
Roll clay flat on a smooth surface.
-
Cut a large rectangle, then cut out the inner window for your art.
-
Smooth edges with your fingers.
-
Press stamps, leaves, or small objects to make texture.
-
Let it dry completely for one or two days.
-
Paint it in your favorite color.
-
Glue your artwork to the back.
Extra Tip:
For a marble effect, mix two clay colors before rolling. You can also use gold or silver paint on edges for elegance. Clay frames look handmade and meaningful.
FAQs
1. What is the cheapest DIY frame idea?
Cardboard and washi tape frames cost almost nothing. They use things you already have at home.
2. Can I make frames without tools?
Yes. Washi tape, rope, or paper roll frames need only glue or scissors.
3. Which frame suits photos best?
Wooden or fabric frames make photos look warm and personal.
4. How can I make my frame stronger?
Use strong glue and let it dry completely. Avoid wet areas.
5. What paint is best for wood frames?
Acrylic or spray paint works best. They dry fast and give a smooth finish.
6. Can I hang cardboard frames?
Yes. Use string or light hooks. They are light and easy to hang.
7. How do I protect the artwork inside?
Cover it with plastic sheet or clear acrylic instead of glass.
8. How can I make a frame look more creative?
Add beads, buttons, shells, or paint patterns. Small touches make a big difference.
9. How long does air-dry clay take to harden?
Usually one to two days, depending on thickness.
10. Can I reuse old frames?
Yes. Remove old paint, sand them, and decorate again with rope, fabric, or paper.
Conclusion
Making DIY art frames is not just about saving money. It’s about giving your wall personality. Every frame tells a story — of your taste, your hands, and your creativity. With a few simple materials, you can make frames that look unique and personal.
Wood, rope, fabric, or clay — each idea brings something special. You can mix styles or change colors to match your space. Start with one small project today. Hang your art proudly. Every frame you make becomes part of your home’s story.