Looking for DIY kitchen countertop ideas? You can transform your kitchen with affordable materials like butcher block, concrete overlays, or modern laminate. This guide compares the best options based on cost, style, and DIY difficulty, then walks you through the steps to install them yourself and save thousands.
Tired of staring at dated, worn-out countertops but dread the thought of a professional quote? You’re not alone. The high cost of installation is one of the biggest frustrations for homeowners dreaming of a kitchen refresh. The good news is that a stunning, custom-looking countertop is well within your reach. You’ve found the right guide. We’re about to break down over a dozen creative, budget-friendly ideas and give you the confidence to choose and install the perfect countertop for your home. Let’s explore your options and find the perfect project for your next weekend.
Understanding Your DIY Countertop Options: A Material Overview
Choosing your material is the first and most important step. The right countertop can change the whole look of your kitchen. It also affects your budget and how much work you will have. Let’s look at the most popular and DIY-friendly options available today.
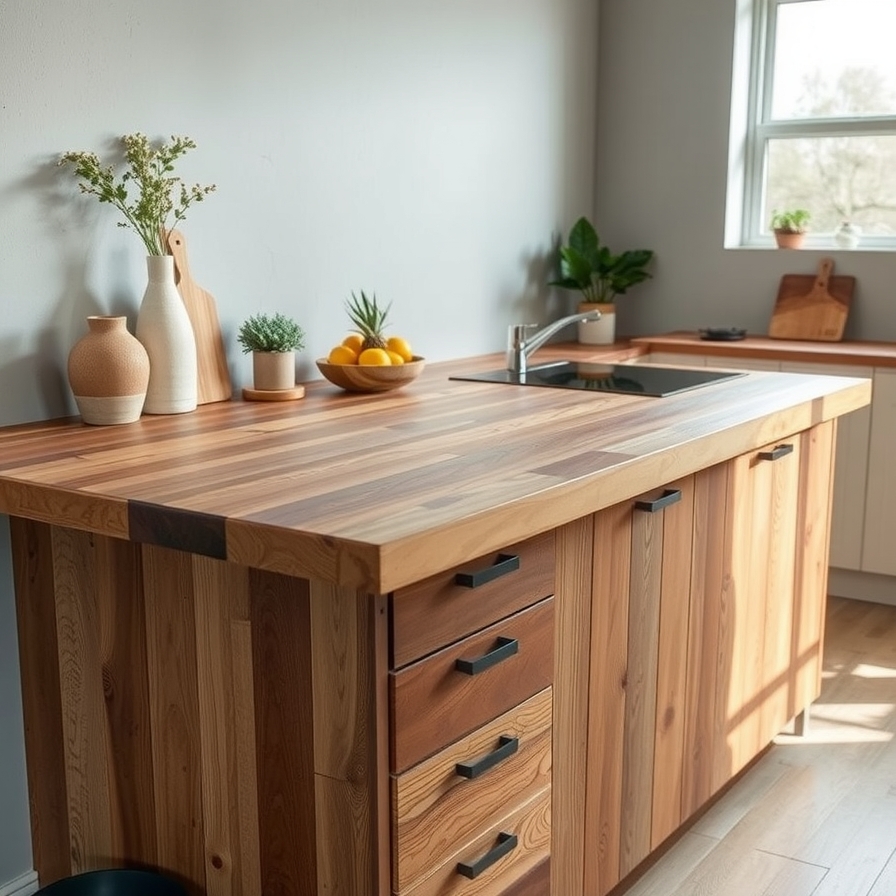
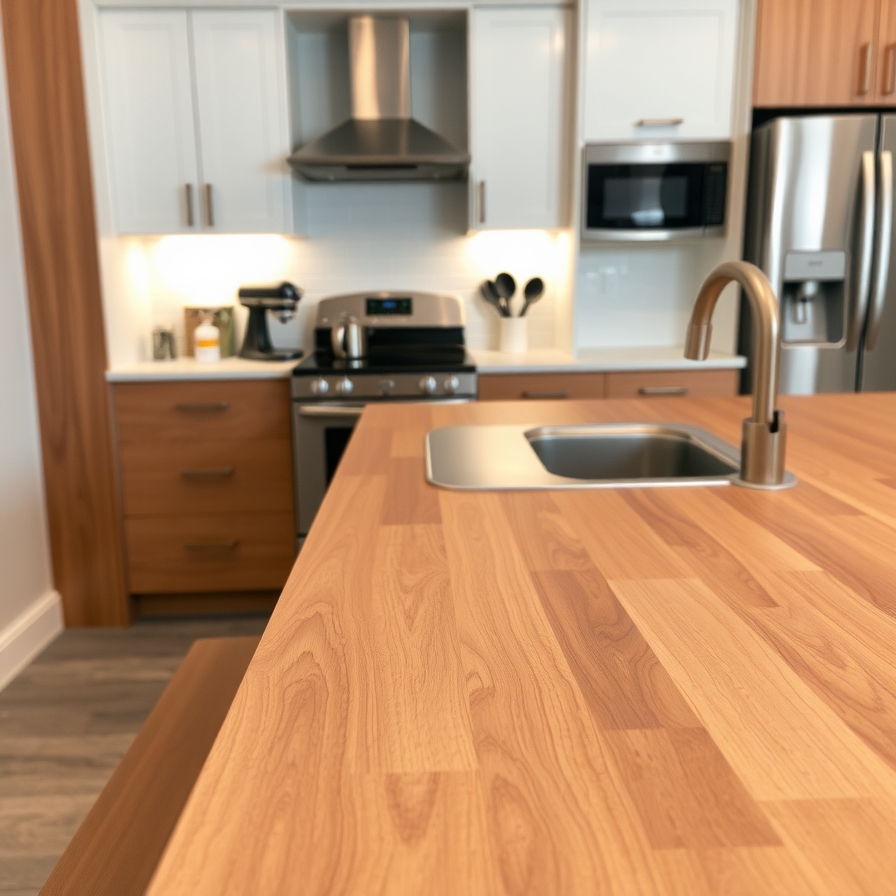
Butcher Block Countertops: Warmth and Character
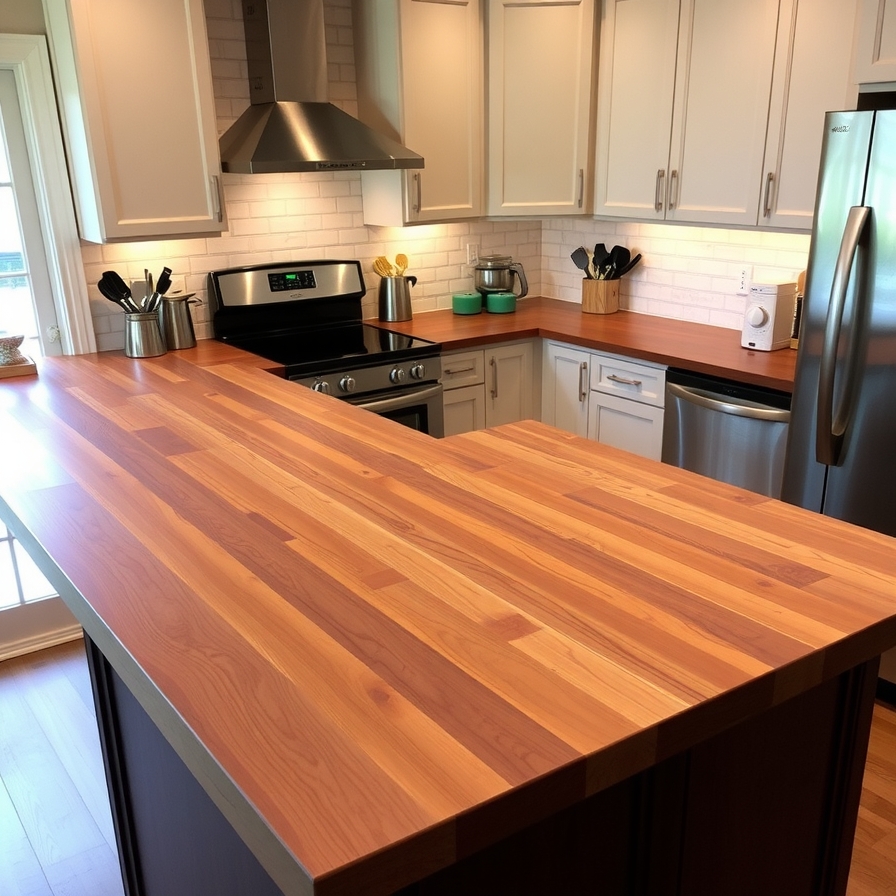
Butcher block brings instant warmth and a timeless feel to a kitchen. Made from strips of wood glued together, it is a classic choice.
Cost: This is a mid-range option. You can expect to pay between $35 and $70 per square foot for the materials.
Pros:
-
DIY-Friendly: It is one of the easier solid surface materials to install. You can often cut it with a circular saw and secure it with basic tools.
-
Repairable: Scratches and burns can be sanded out and re-oiled, making it look new again.
-
Beautiful Aging: With proper care, it develops a rich patina over time.
Cons:
-
High Maintenance: You must oil it regularly with a food-safe mineral oil to prevent drying and cracking. The USDA Food Safety and Inspection Service provides guidelines on safe finishes for wood countertops.
-
Not Heat Proof: Always use a trivet for hot pans to avoid burn marks.
-
Can Scratch: It is softer than stone, so cutting directly on it will leave marks.
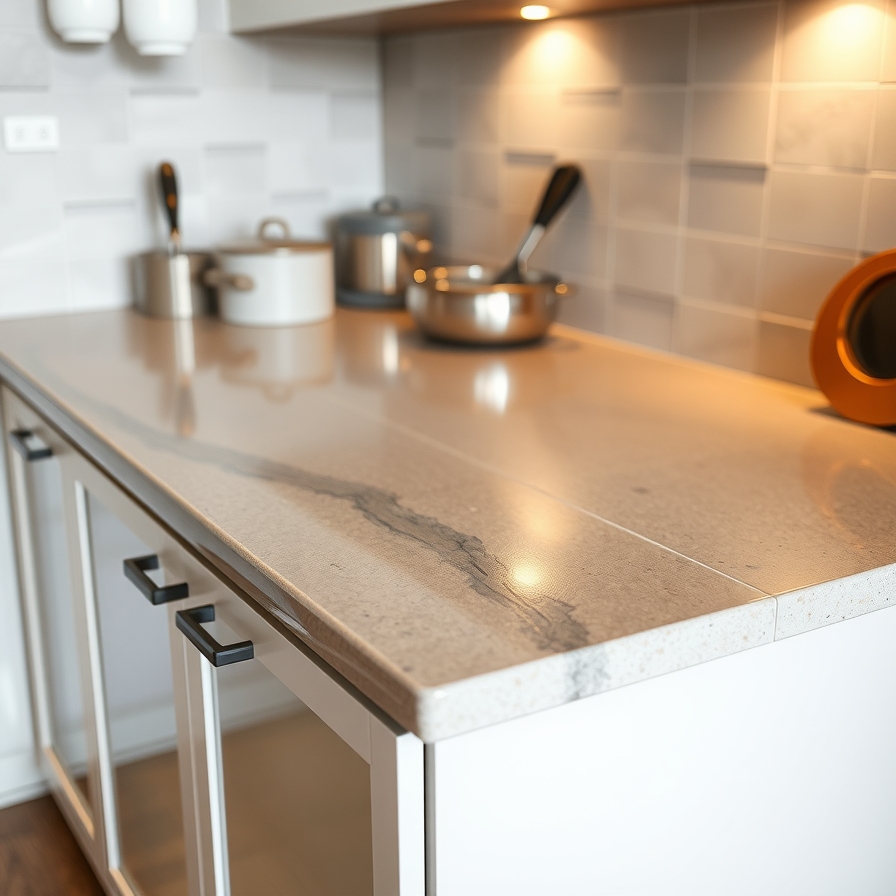
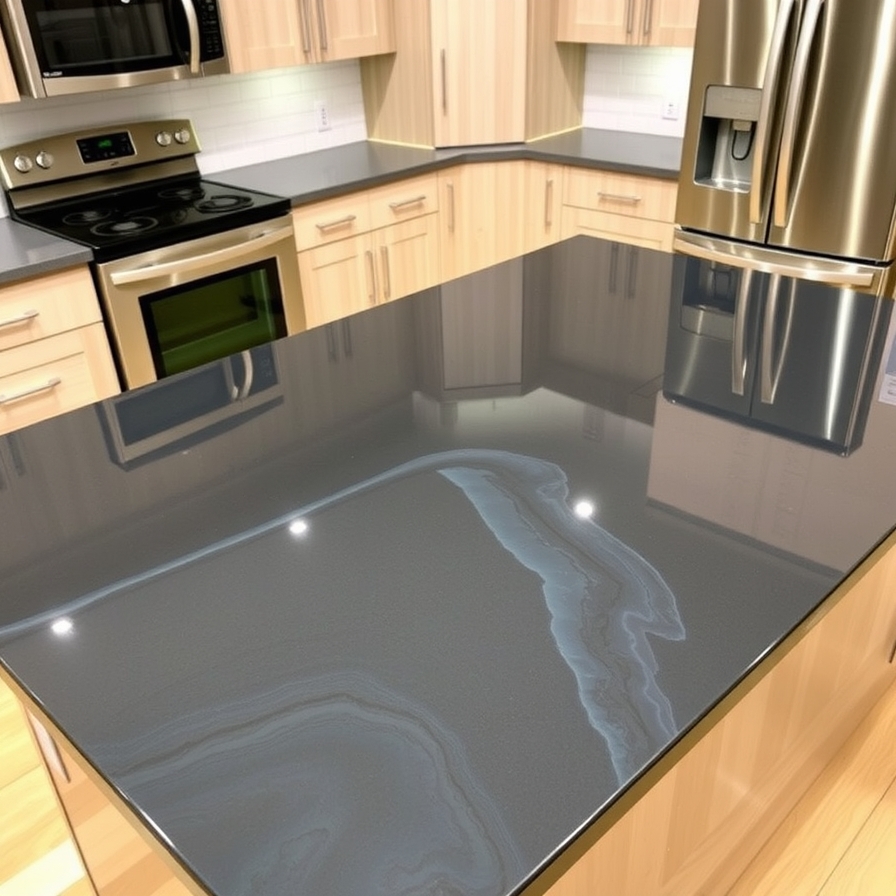
Concrete Countertops: Industrial and Modern
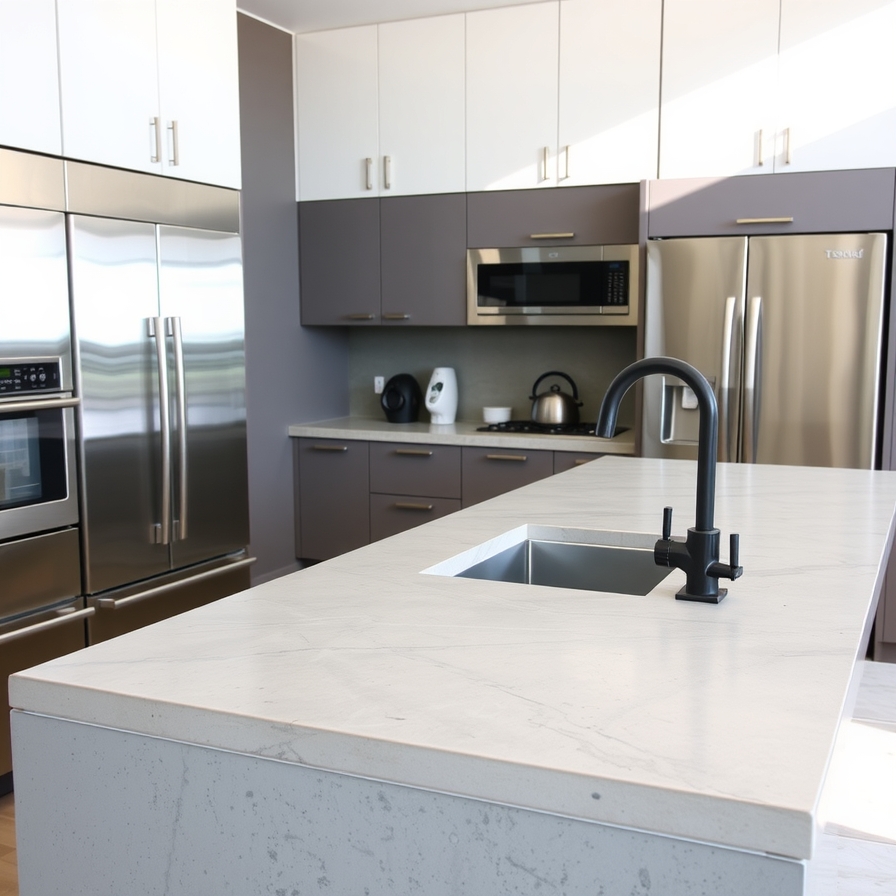
Concrete countertops offer a sleek, industrial look that is highly customizable. You have two main paths: pouring your own or using a much thinner concrete overlay on top of your existing countertop.
Poured Concrete is a major project. It involves building a mold, mixing, pouring, and extensive polishing. It is heavy and best for those with advanced DIY skills.
Concrete Overlays are a fantastic DIY alternative. These are thin, polymer-modified coatings troweled over old laminate or tile. They are far lighter and easier to manage. You can learn more about the overlay process from This Old House, a trusted home improvement resource.
Sealing is non-negotiable. Concrete is porous and will stain easily without a proper sealant. You must apply a high-quality impregnating sealer.
Durability: Once sealed, concrete is very heat-resistant and durable. It can chip if something very heavy is dropped on its edge.
Laminate Countertops: Budget-Friendly and Versatile
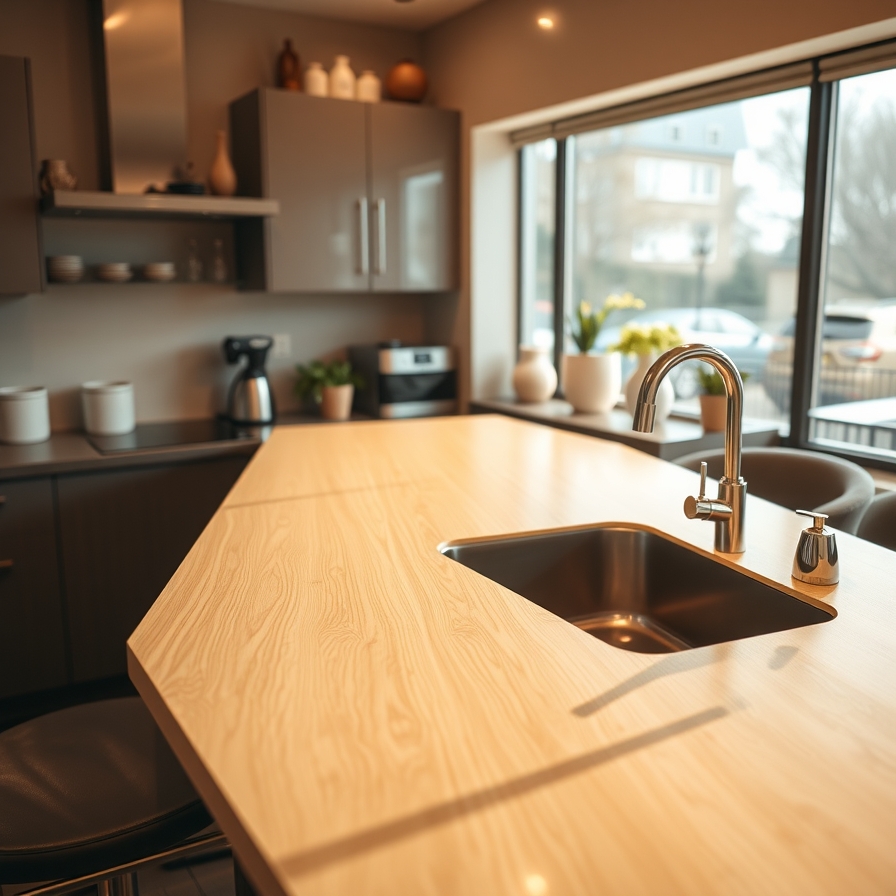
Laminate is the champion of budget-friendly DIY countertops. Modern laminate is not your grandmother’s countertop. It now comes in a huge variety of patterns, including convincing stone and wood looks.
Sheets vs. Tiles:
-
Sheets: Provide a seamless look but can be tricky for one person to handle. Bubbles are a common installation error.
-
Tiles: Laminate countertop tiles are incredibly easy for a beginner. They are often peel-and-stick and can be installed in an afternoon. They are perfect for a quick, low-commitment update.
The biggest advantage of laminate is its low cost and easy installation. The biggest drawback is that scratches and burns are difficult to repair.
Other Popular DIY-Friendly Materials
Tile Countertops are a classic DIY project. They are heat-resistant and offer endless design combinations. The main downside is the grout lines, which can trap food particles and require regular cleaning to prevent staining.
Plywood Countertops are for the truly budget-conscious and crafty. You can build a countertop from sheets of plywood, then finish it with stain, paint, or polyurethane for a unique, rustic look.
Epoxy Countertops involve pouring a thick layer of epoxy resin over a base (often an existing countertop). It can create stunning, durable, and seamless surfaces with effects like bright colors or faux stone. Proper ventilation and a meticulous process are key to avoiding bubbles.
How to Choose the Right DIY Countertop for You
With so many options, how do you pick? The best choice for you depends on three key factors: your budget, your lifestyle, and your kitchen’s style.
Comparing Cost: Budget vs. Investment
Your budget is the biggest deciding factor. Here is a quick comparison of material costs per square foot.
| Material | Estimated Cost per Sq. Ft. (Material Only) | Best For |
|---|---|---|
| Laminate | $10 – $40 | The tightest budgets, quick updates |
| Tile | $15 – $50 | Budget-savvy DIYers who don’t mind grout |
| Plywood | $10 – $30 | Ultra-low budget, custom rustic looks |
| Butcher Block | $35 – $70 | Mid-range budgets, warm traditional styles |
| Concrete Overlay | $40 – $80 | Mid-range budgets, modern industrial looks |
| Poured Concrete | $70 – $150+ | Higher budgets, advanced DIY skills |
Remember, these are material costs. Doing it yourself saves you the huge cost of professional installation.
Evaluating Durability and Maintenance
Think about how you use your kitchen. This will determine the best material for your needs.
-
Heat Resistance: Butcher block can burn. Concrete and tile are very heat-resistant. Always use a trivet to be safe.
-
Scratch Resistance: Laminate and plywood scratch easily. Butcher block can be sanded. Concrete and tile are very hard.
-
Stain Resistance & Sealing: Butcher block and concrete require sealing. Tile is stain-resistant, but the grout needs to be sealed. Laminate is naturally stain-resistant.
Choose a material whose maintenance routine you can live with long-term.
Matching Your Kitchen’s Style
Your countertop should tie the whole room together.
-
Farmhouse Style: Butcher block is a perfect match for this warm, inviting style.
-
Modern/Industrial Style: Concrete or a solid, dark laminate creates a sleek, clean look.
-
Rustic Style: Butcher block or a tiled countertop with a rustic glaze works beautifully.
-
Traditional Style: A laminate with a granite or marble pattern can provide a classic feel on a budget.
Step-by-Step DIY Countertop Projects
Now, let’s get into the fun part. Here are simple guides for three popular DIY countertop projects. Always remember to wear safety glasses and gloves.
Installing a Butcher Block Countertop: A Beginner’s Guide
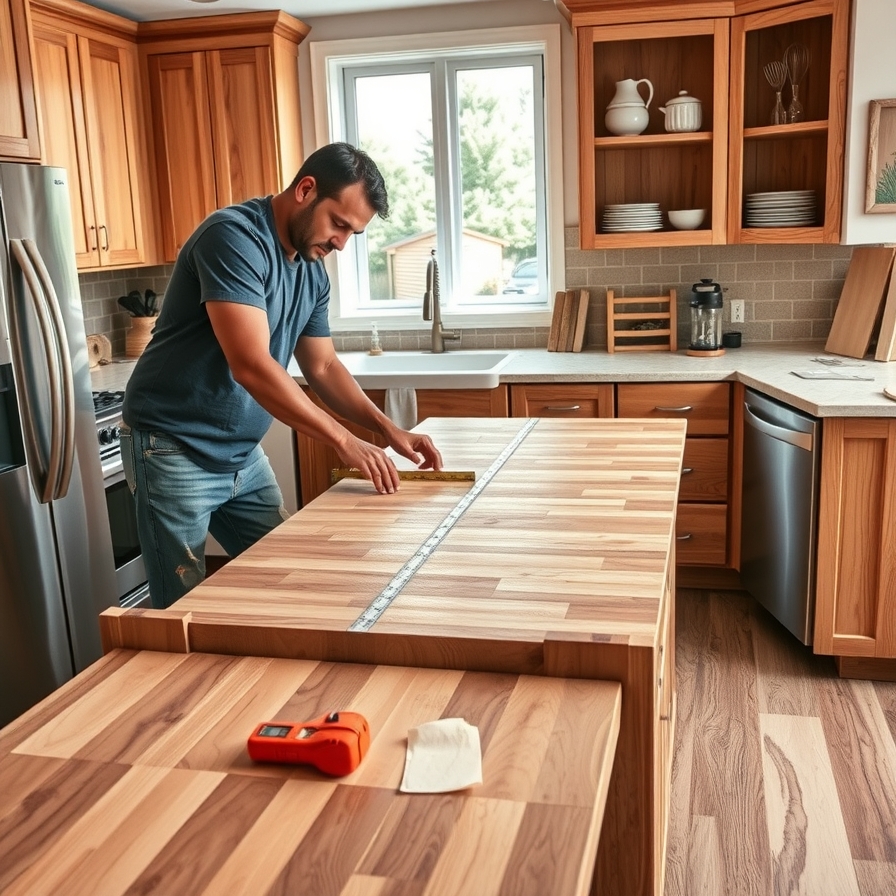
- Butcher block is a great first major project. The steps are clear.
- First, gather your tools. You will need a circular saw or jigsaw, a drill, a sander, clamps, and a tape measure. You will also need food-safe mineral oil and a sealant if you choose to use one.
- Start by measuring your cabinets. Be very precise. Mark your cuts on the butcher block with a pencil and straight edge.
- Cut the butcher block to fit your space. Support the wood well to avoid splintering. A sharp blade makes a cleaner cut.
- Now, sand the surface. Start with a coarse grit sandpaper. Then move to a fine grit. This makes the wood smooth to the touch.
- Apply a finish. For a classic look, use several coats of food-safe mineral oil. Let each coat soak in. For more protection, you can use a hardening oil or polyurethane. The Family Handyman has a good guide on finishing wood countertops.
- Finally, secure the countertop. Place it on the base cabinets. Drill pilot holes up through the cabinet corner braces. Screw the countertop down from below. Do not screw down through the top.
How to Create a Concrete Overlay Countertop
- A concrete overlay transforms old laminate or tile. It creates a modern, industrial look.
- Surface prep is everything. Your old countertop must be clean, dull, and sound. Deeply clean it. Then, sand it to rough up the surface so the overlay will stick. Fill any deep chips or holes.
- Mix the overlay product. Follow the manufacturer’s instructions exactly. Use a drill with a mixing paddle. The mix should be like a thick brownie batter.
- Now, apply the overlay. Spread it with a trowel. Work in small sections. Try to get an even thickness across the whole surface.
- You can add color or stains at this stage. You can mix integral color in, or use acid stains on the surface after it sets.
- Let it cure for the full time listed on the product. This is very important for strength.
- Finally, seal the concrete. Once it’s fully cured, apply a penetrating sealer. This will protect it from stains and water. You will need to reapply this sealer every one to two years.
A Guide to Installing Sheet Laminate
- Installing new sheet laminate over particleboard is a classic DIY task. The key is patience.
- You will need contact cement, a roller, a j-roller, and a router with a flush-trim bit.
- First, make sure your base is clean and flat. Any bumps will show through the laminate.
- Cut the laminate sheet slightly larger than your countertop. About an inch bigger on all sides is good.
- Apply contact cement to both the back of the laminate and the countertop surface. Use a brush or roller. Let both coats dry until they are tacky. This usually takes 15-30 minutes.
- The next step is critical. Place wooden dowels across the countertop. Then, carefully lay the laminate sheet on top of the dowels. The dowels keep the two cemented surfaces from touching before you are ready.
- Starting from the center, pull out one dowel at a time. Press the laminate down firmly onto the base. Use a J-roller to press it down hard and remove air bubbles.
- Finally, trim the edges. Use a router with a flush-trim bit to cut the excess laminate. This will give you a perfect, clean edge.
DIY Countertop FAQs
You have questions. Here are clear, direct answers.
What is the easiest DIY countertop for a beginner?
Laminate tiles or butcher block are the easiest for most people. Laminate tiles are often peel-and-stick. Butcher block is a solid material that is easy to cut and install with basic tools. It is forgiving for a first-time project.
How can I update my countertops without replacing them?
There are several great ways to update without a full replacement.
-
Concrete Overlay: As discussed above.
-
Peel-and-Stick Vinyl: New, high-quality vinyl sheets can be applied directly over old laminate for a quick fix.
-
Tile: You can tile right over your old countertop if it is structurally sound.
-
A fresh coat of paint with an epoxy topcoat is also an option for a bold change.
What tools do I need for most DIY countertop projects?
You can handle most projects with a basic toolkit. This includes a circular saw for cutting, a drill for securing, a sander for finishing, and clamps for holding pieces. For laminate, you will need a router. For tile, you need a tile cutter and a notched trowel.
How important is sealing a DIY countertop?
It is very important for porous materials. Sealing is not a suggestion. It is a requirement for concrete and wood countertops. A good sealant prevents stains, water damage, and bacteria growth. It makes your beautiful new countertop last for years. Always follow the sealant manufacturer’s instructions for the best results.
Conclusion
You now have everything you need to start your DIY kitchen countertop project. You know the best materials for your budget and style. You understand the pros and cons of each one. And you have clear, step-by-step guides to follow.
The hardest part is often just getting started. Pick a material that fits your skill level. Gather your tools. Take your time with the measurements and the prep work. A stunning new kitchen is within your reach. You can do this.
Read More: