
Quick & Easy DIY Dresser Makeover Ideas
Not every project needs to be a big build. Sometimes, the best results come from the simplest changes. If you have a dresser that’s solid but just looks tired, these ideas are for you. You can achieve a stunning transformation with minimal tools and cost. Let’s explore the easiest ways to give your dresser a new life.
The Power of Paint: Transforming Your Old Dresser
A fresh coat of paint is the fastest way to change your dresser. It covers old colors and scratches. It also adds your personal style.
First, you must prep the surface. Clean it well to remove dust and grease. Lightly sand the surface to help the new paint stick. Wipe away all the sanding dust. Then, apply a primer. Primer is a base coat that seals the old surface. It gives the paint a uniform surface to stick to. This step is crucial for a smooth, long-lasting finish.
For the paint itself, a satin or semi-gloss finish is a great choice for furniture. These are durable and easy to clean. You can use a brush, but a small foam roller will give you a smoother finish with no brush marks. Apply two thin coats for the best coverage. Let the paint dry fully between coats.
How to paint a laminate dresser is a common question. The good news is, you can do it. The key is using the right products. You do not need to sand heavily. Instead, use a primer designed to stick to slick surfaces like laminate. A popular choice is a shellac-based primer or a bonding primer. After this primer, you can paint with confidence.
New Hardware, New Life:
Never underestimate the power of new knobs and pulls. Swapping out hardware is like giving your dresser new jewelry. It is a quick and very easy update.
First, figure out the size you need. Measure the distance between the screw holes on your old hardware. This is called the “hole center.” You can find new pulls with the same measurement for an easy swap.
The style of hardware can completely change the dresser’s look. For a modern diy dresser, try sleek, bar-shaped pulls in black or nickel. For a farmhouse dresser diy, look for cup pulls or bin pulls in a rustic finish. This is one of the least expensive ways to make a big impact. You can find a huge variety of knobs and pulls at stores like The Home Depot or Lowe’s.
Beyond Paint: Decoupage and Wallpaper Accents
If you want a unique pattern, think beyond paint. Decoupage and wallpaper let you add detailed designs without any artistic skill.
Decoupage involves gluing paper cutouts onto the furniture. You can use decorative napkins, gift wrap, or printed images. Seal it with a decoupage glue or a clear topcoat.
Another great idea is to use removable wallpaper or contact paper on the drawer fronts. This is perfect for creating an accent. It is also less permanent than paint. If you get tired of the pattern, you can peel it off and try something new. This is a fantastic, low-commitment way to test a bold look. You can find beautiful patterns from retailers like Anthropologie’s home section.
Popular DIY Dresser Styles & Aesthetics
Once you know you can change a dresser, the next step is choosing a style. Your dresser should reflect your personal taste and fit the room’s decor. Here are some of the most popular looks you can achieve with a DIY project.
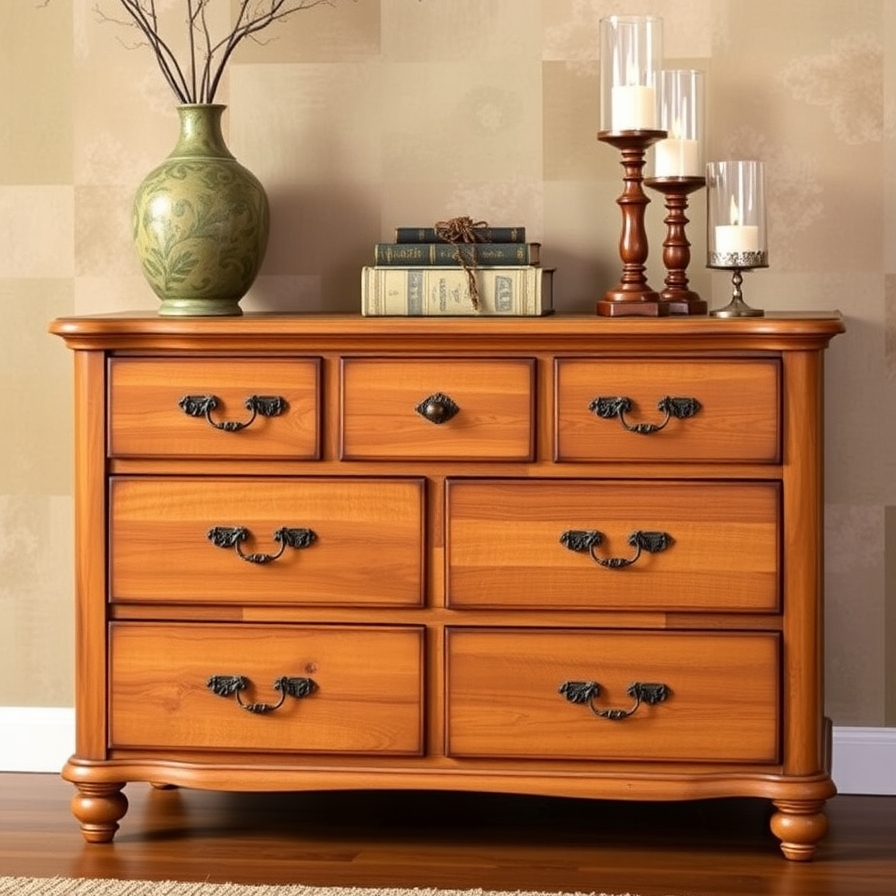
Charming Farmhouse Dresser DIY Projects
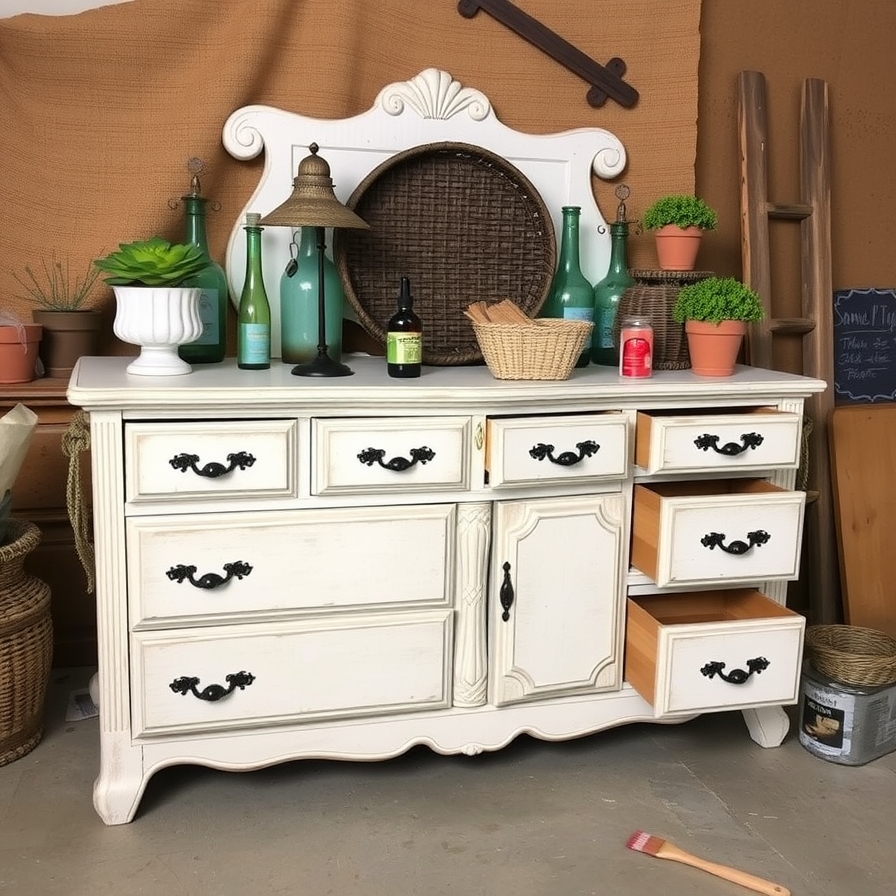
The farmhouse style is warm and welcoming. It often uses natural wood and soft, cozy colors. To get this look, start with a dresser that has simple lines. Paint it a classic color like white, cream, or a pale gray. Then, distress the edges. This means lightly sanding the corners and edges to let the wood or a darker paint color show through. It creates a worn, vintage feel.
You can also add shiplap to the sides or drawer fronts for texture. Replacing the legs with chunkier, turned wood legs is another great way to nail the farmhouse aesthetic. Finish with those classic bin pulls or cup pulls in a black or oil-rubbed bronze finish.
Sleek and Simple Modern DIY Dresser Designs
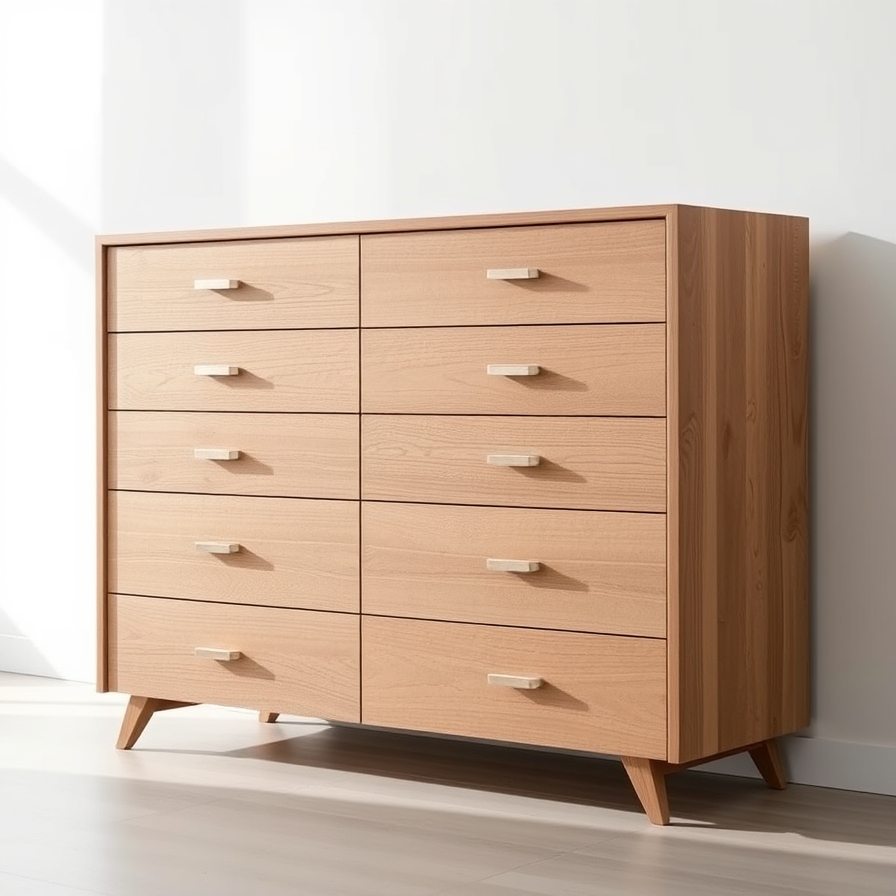
Modern design is all about clean lines and a lack of clutter. The look is sleek and sophisticated. For a modern diy dresser, think simple. A flat-panel dresser is a perfect starting point. Paint it a solid, bold color like navy blue, black, or pure white. The hardware should be minimal. Think long, bar-shaped pulls or simple recessed handles.
A very easy way to make a dresser modern is to change the legs. Swap out old, bulky legs for slim hairpin legs. This instantly lifts the piece and gives it a light, contemporary feel. The goal is a piece that is functional and beautiful in its simplicity.
Timeless Mid-Century Modern Dresser Plans
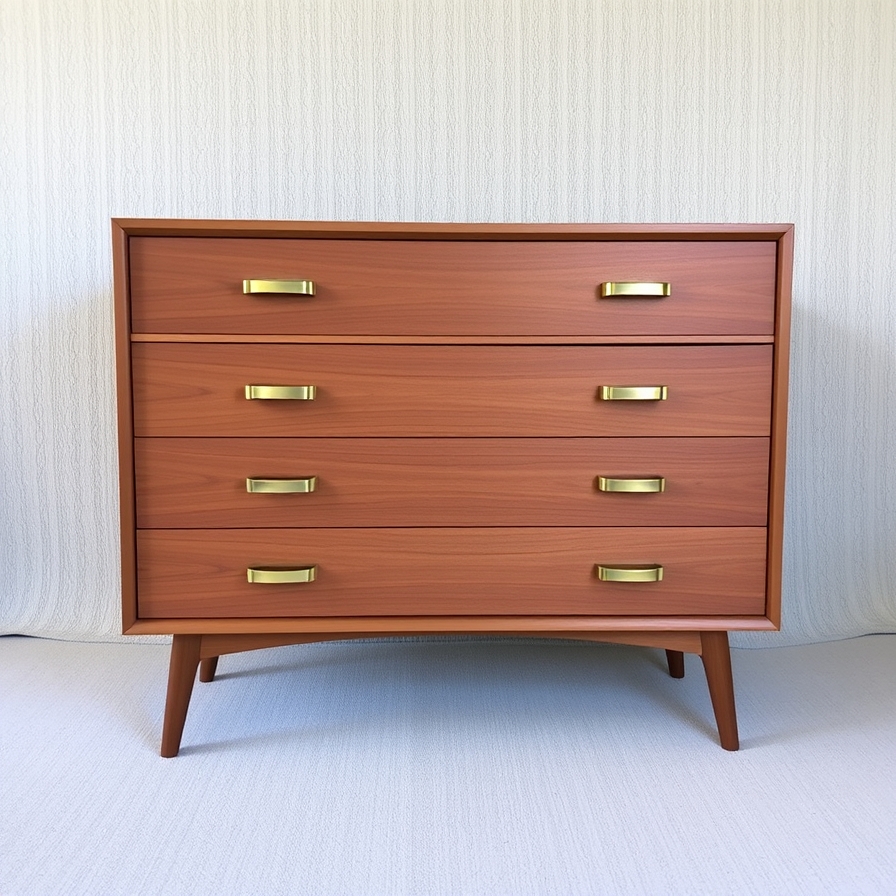
The mid-century modern style is back in a big way. It is known for its organic shapes and tapered lines. Key features of a mid century modern dresser include a low, long profile and tapered legs. The wood is often a warm tone like walnut or teak. To DIY this look, you can build a new dresser with these features. Or, you can transform a basic dresser.
Find a simple, low dresser. Paint the body a contrasting color, like a dark top with light drawers. Then, add new tapered legs. You can buy these online easily. The hardware should be simple, like small, round knobs. This style is timeless and adds a cool, vintage vibe to any room.
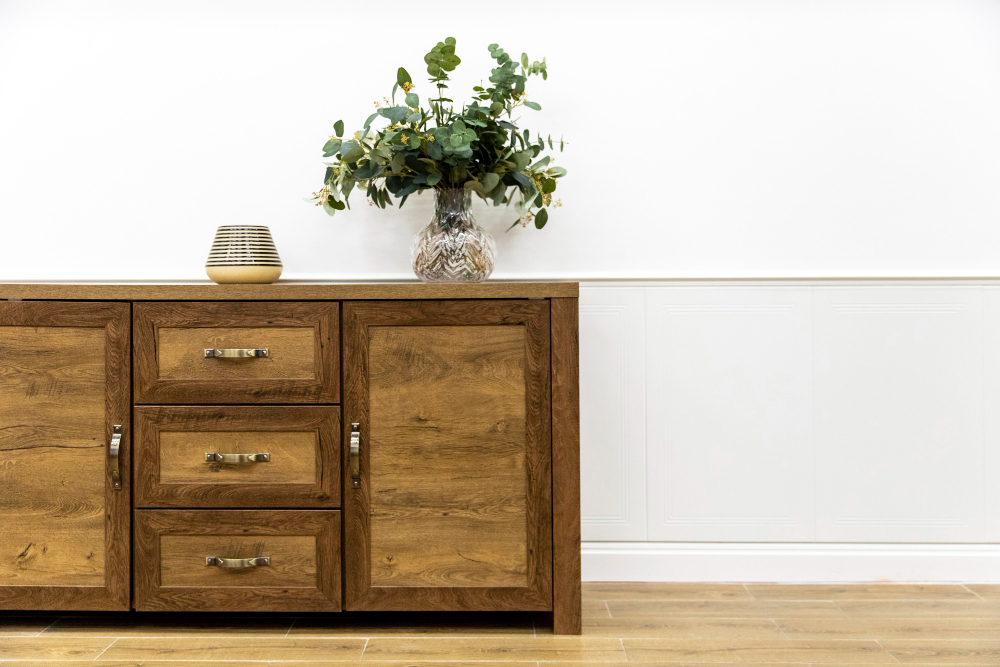
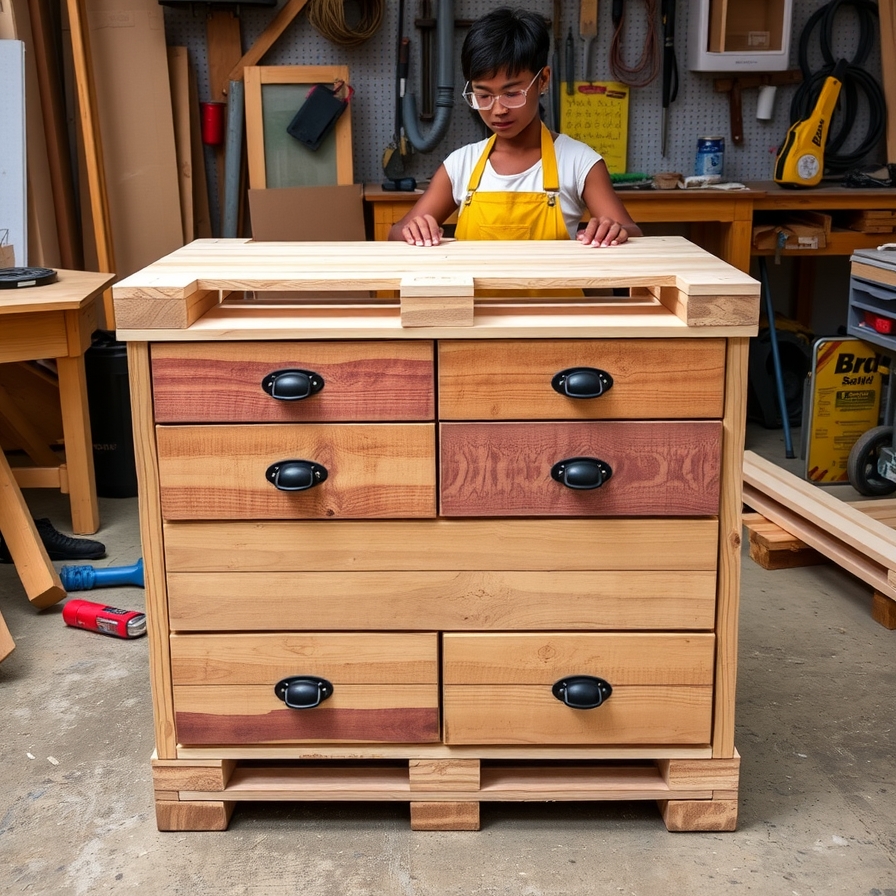
Warm and Rustic Dresser Ideas
The rustic style celebrates natural, raw materials. It feels sturdy and handcrafted. The best way to achieve this look is by using real wood. A pallet dresser is a classic rustic project. The varying wood tones and visible nail holes add to the charm. Similarly, a reclaimed wood dresser made from old barn wood or fencing has instant character and a story.
If you are painting, use a technique like a whitewash. This allows the wood grain to show through. The hardware should be simple and functional, like black iron handles or even leather straps. This style brings a cozy, cabin-like feel to your space.
The Ultimate Guide to IKEA Dresser Hacks
IKEA furniture is affordable and well-designed. But it is also the perfect blank canvas for a creative DIY project. An IKEA dresser hack lets you take a basic, mass-produced item and turn it into a one-of-a-kind piece. This is one of the most popular ways to start DIY furniture.
Why IKEA MALM is the Perfect DIY Dresser Canvas

The IKEA MALM dresser is a DIY favorite for good reason. It is cheap, has a very simple design, and is owned by millions of people. Its flat, smooth surfaces are easy to paint or modify.
You can turn a basic MALM into a high-end looking piece. People often add molding to the drawer fronts to create a shaker-style look. Others paint it a bold color and add unique hardware. Some even cut down the legs or add new ones. Because the MALM is so common, you can find hundreds of tutorial videos and blog posts online for inspiration.
Transforming the TARVA Dresser into a Custom Piece
The IKEA TARVA dresser is basically a gift to DIYers. It is sold as an unfinished, solid pine dresser. This means you don’t have to strip off an old finish or veneer. It is ready for your creative touch right away.
The TARVA is the ideal starting point for a farmhouse or Scandinavian dresser. You can simply stain the wood to show off the natural grain. Or, you can paint it and add new legs. Many people also leave the frame natural and just paint the drawers for a two-tone effect. Its simple construction makes it very easy to work with, even for your first project.
Creative Hacks for IKEA HELMER, ALEX, and more.
The hacking possibilities extend throughout the IKEA range.
-
The HELMER is a small, metal rolling cart. People often spray paint it fun colors for a cheap, customizable storage unit for a craft room or home office.
-
The ALEX drawers are a workhorse for desks. A popular hack is to use two ALEX units as legs for a wooden or countertop desk, creating a modern workstation with tons of storage.
-
Don’t forget about the BESTÅ system. You can build entire wall units and customize them with different legs, colors, and fronts to fit your space perfectly.
Websites like IKEA Hackers are dedicated entirely to these creative projects and are a fantastic source of ideas and detailed guidesaggio.
Building a Dresser From Scratch: Plans for Every Skill Level
Building your own dresser is a big step. It is also very rewarding. You get a piece made exactly for your space and style. Do not be scared. There are plans for all skill levels. You can start simple and work your way up.
Your First DIY Wood Dresser: A Beginner-Friendly Plan
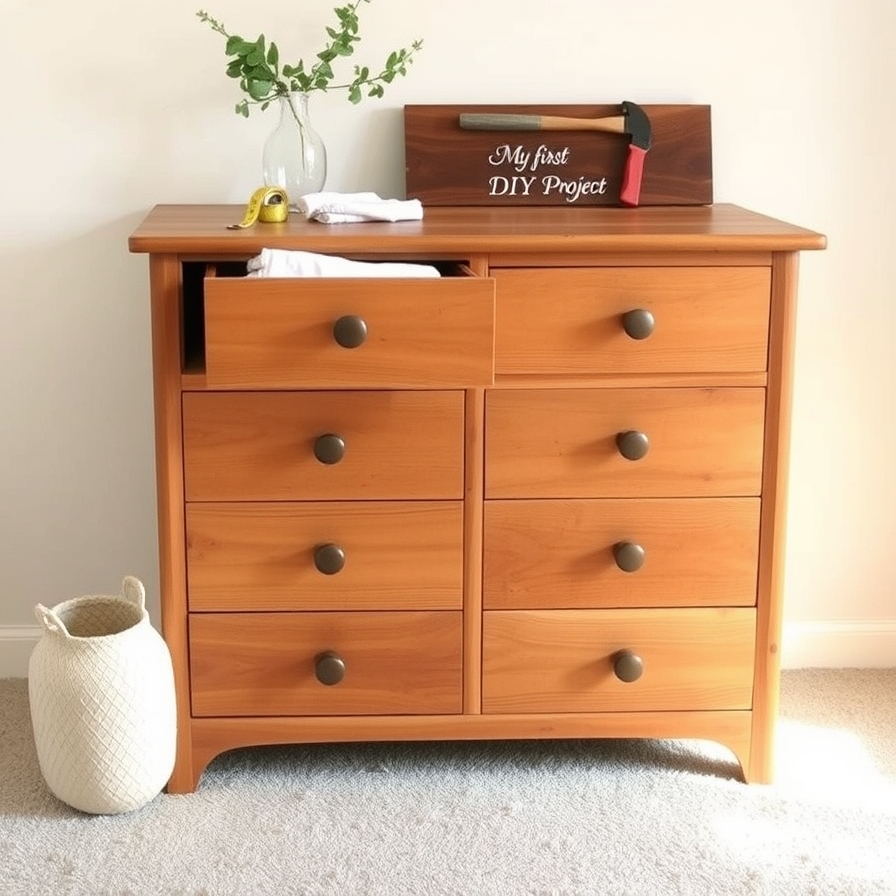
Your first build should be simple. Look for plans that use basic wood cuts. A design with straight lines is best. You will need common boards like pine or plywood.
The tools are simple too. A saw, a drill, and a screwdriver are the main things. A circular saw or a miter saw will help you cut the wood straight. A Kreg Jig is a great tool for beginners. It helps you make strong, hidden pocket-hole joints easily.
Start with a small dresser. A three-drawer design is perfect. Use plywood for the main box and solid wood for the front. This keeps the cost down. The Ana White website has many free, easy-to-follow plans for simple furniture. It is a great place to find your first project.
Building a Simple Pallet Dresser
Pallets are a source of free or cheap wood. A pallet dresser has a great rustic look. But it does take some work. First, you must take the pallets apart. Use a pallet buster or a pry bar. Be careful of nails. Then, sand the wood well. Pallet wood can be rough and have splinters.
The build is like a puzzle. You can stack and nail the wood to create the sides and drawers. The sizes do not have to be perfect. The uneven look is part of the charm. This is a very creative and low-cost way to build a dresser. Remember to always check that pallets are safe for indoor use. The EPA guidelines on pallets can help you identify safe, stamped pallets.
Advanced Plans: A Floating Dresser or a Double Dresser
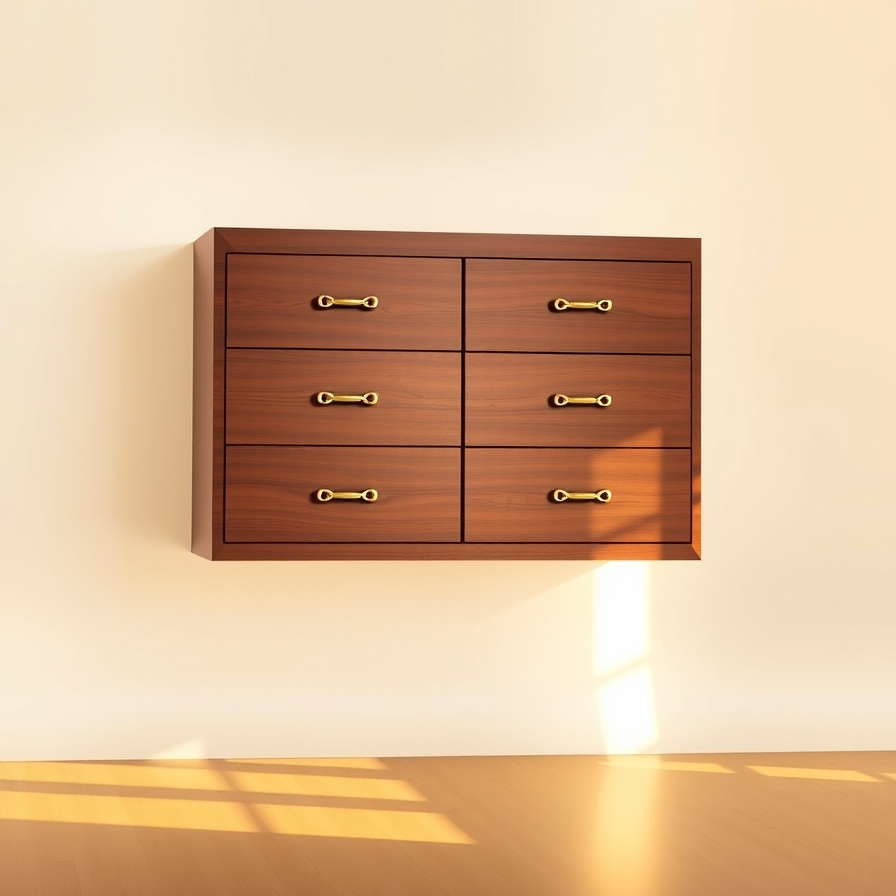
Ready for a challenge? Advanced plans let you create something special. A floating dresser is mounted to the wall. It has no legs. This creates a clean, modern look. The key is a strong internal frame. You must securely attach it to the wall studs. This plan requires precise measuring and building.
A double dresser is wide and has many drawers. It is a statement piece. Building one needs good planning for the drawer slides and a strong base. This project uses more materials. It also takes more time. But the result is a beautiful, professional-looking piece of furniture.
DIY Dresser FAQs: Your Questions Answered
You have questions. Here are clear, simple answers to the most common ones.
What is the easiest way to update an old dresser?
The easiest way is to change the hardware. It takes less than an hour. You just need a screwdriver. New knobs or pulls can change the whole style.
The next easiest way is to paint it. A fresh coat of paint covers old colors and flaws. It makes the dresser look brand new. These two methods are the best for a quick and easy dresser makeover.
Can I build a dresser without a lot of tools?
Yes, you can. You do not need a full workshop.
For a makeover, you just need a screwdriver, sandpaper, and a paintbrush.
To build from scratch, you can start with pre-cut wood. Many hardware stores will cut wood to your sizes. This is called a “cut list.” With pre-cut wood, you mainly need a drill and wood glue to put it together. This makes a diy dresser for beginners very possible.
How much does it typically cost to DIY a dresser?
The cost changes a lot based on the project.
A simple dresser makeover can cost $50 to $150. This covers paint, primer, and new hardware.
An IKEA dresser hack might cost $100 to $300. This includes the price of the IKEA dresser plus your upgrade materials.
Building a dresser from scratch can cost $200 to $500 or more. The price depends on the type of wood and hardware you choose. Building with plywood is cheaper than using solid oak.
Conclusion: Find Your Perfect DIY Dresser Project
You have seen the full world of diy dresser ideas. From a simple coat of paint to building your own from wood, the power is in your hands. You can save money. You can create a piece that fits your space perfectly. Most of all, you can feel the pride of making something beautiful yourself.
Look through these ideas again. Pick the project that excites you the most. Start with a small update or jump into a full build. Your perfect dresser is waiting to be created.
Read More: