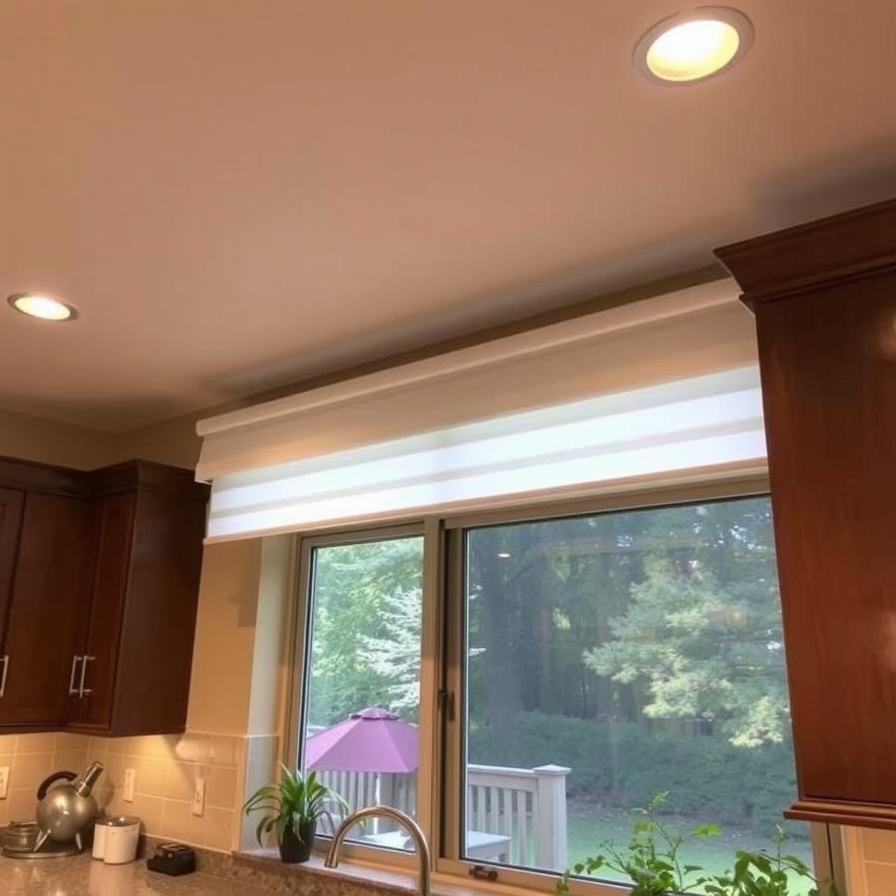
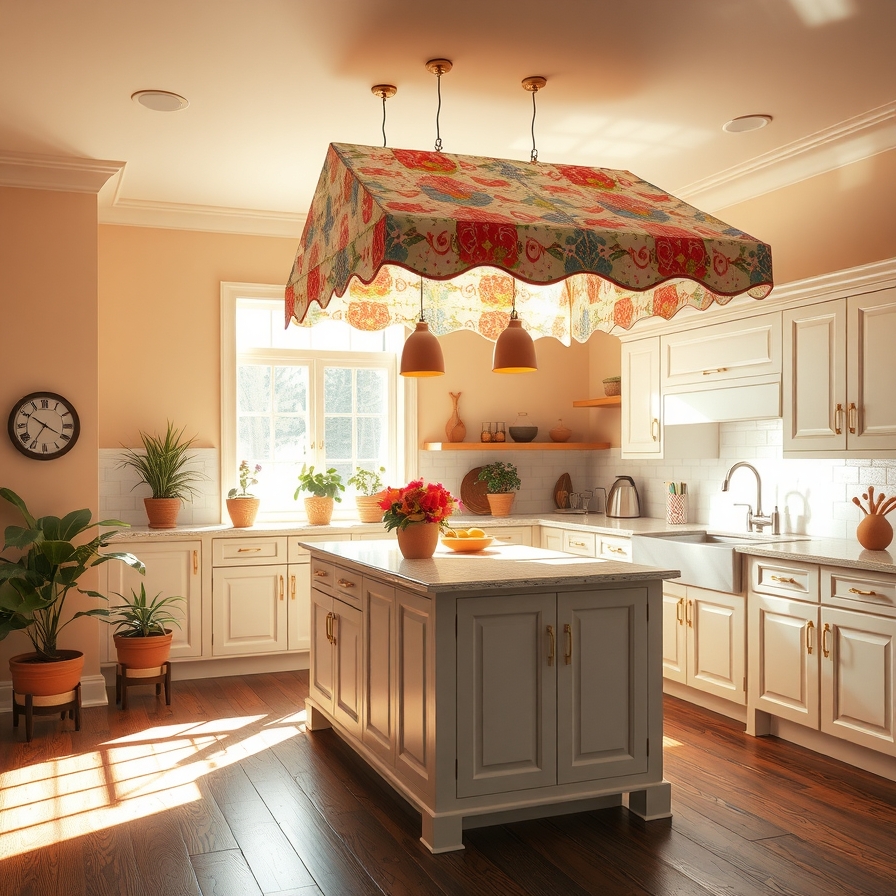
An awning inside the kitchen may sound unconventional, yet it instantly changes the atmosphere of the space. The right design introduces personality, defines areas, and adds a playful touch that feels warm and inviting. Think of a small striped canopy above open shelves or a rustic wooden awning framing a coffee nook; both ideas make the room feel more lively and unique. A simple fabric awning can bring in color, while a reclaimed wood design adds character that feels timeless.
Kitchens often serve as the heart of the home, and small touches like an indoor awning create a cozy café vibe or a stylish focal point without major renovations. A colorful awning over a breakfast bar sets the tone for cheerful mornings, while a neutral-toned awning can bring sophistication and balance to modern interiors. For renters, lightweight fabric options provide an easy way to add style without permanent changes.
From farmhouse-inspired frames to sleek, modern designs, indoor kitchen awnings open the door to endless creativity. Each style tells its own story and adds a layer of comfort to the space. Explore ideas that match your personality and watch your kitchen evolve into a place that feels truly one of a kind.
DIY Indoor Kitchen Awning Ideas That Add Charm and Style
Do you want to make your kitchen more beautiful? Awnings are not just for outside windows. An indoor awning adds charm and style. It makes your kitchen feel cozy and special. You can create a focal point above a window, a sink, or even a dining nook.
The best part? You do not need to hire a pro. Many DIY indoor awnings are simple to make. You can use easy-to-find materials. This project is fun and saves money.
This guide shows you ten great DIY ideas. Each idea uses different materials. You will find a style that fits your kitchen. Let’s get started.
Why Add an Indoor Awning?
Indoor awnings have many benefits. They add a pop of color and pattern. This can change the whole look of your kitchen. Awnings also hide things.
They can cover an ugly window frame or a boring blind. They make your kitchen feel finished and designed. You can match the awning to your decor. Choose a fabric that you love. It is a simple way to show your personality.
1. The Simple Fabric Valance Awning
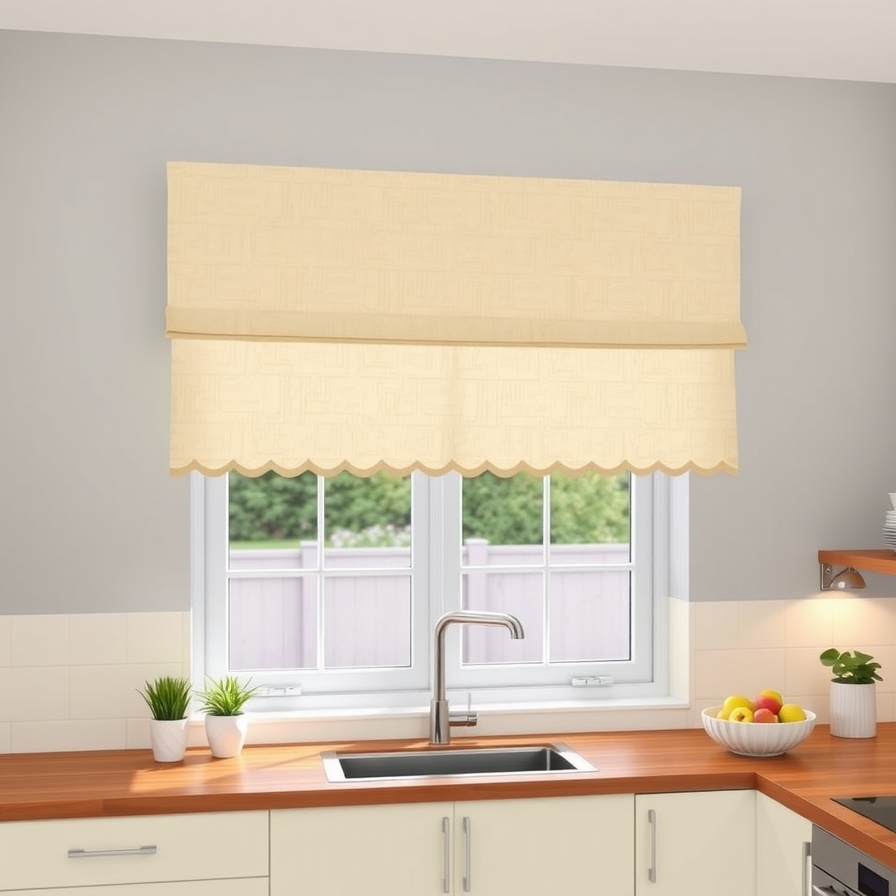
This is the easiest awning to make. It is perfect for beginners. You need a wooden board, some fabric, and a few tools.
Materials You Need:
-
A piece of plywood or a pre-cut board (cut to your window’s width)
-
Fabric of your choice (measure your window to know how much)
-
Batting or quilt padding (for a soft, padded look)
-
Staple gun and staples
-
Screws
-
L-brackets (2 or 3)
-
Scissors
-
Measuring tape
Simple Steps:
-
Cut your board to the right length. It should be a few inches wider than your window.
-
Lay the batting on a table. Put your board on top. Cut the batting around the board. Leave enough to fold over the edges.
-
Pull the batting tight over the front of the board. Staple it to the back. Do the same for your fabric. Make sure the pattern is straight.
-
Attach the L-brackets to the top of the board. Make sure they are even.
-
Hold the awning up to the wall. Mark where the brackets are. Screw the awning into the wall studs.
That’s it! You have a beautiful new awning.
2. The Rustic Burlap Awning
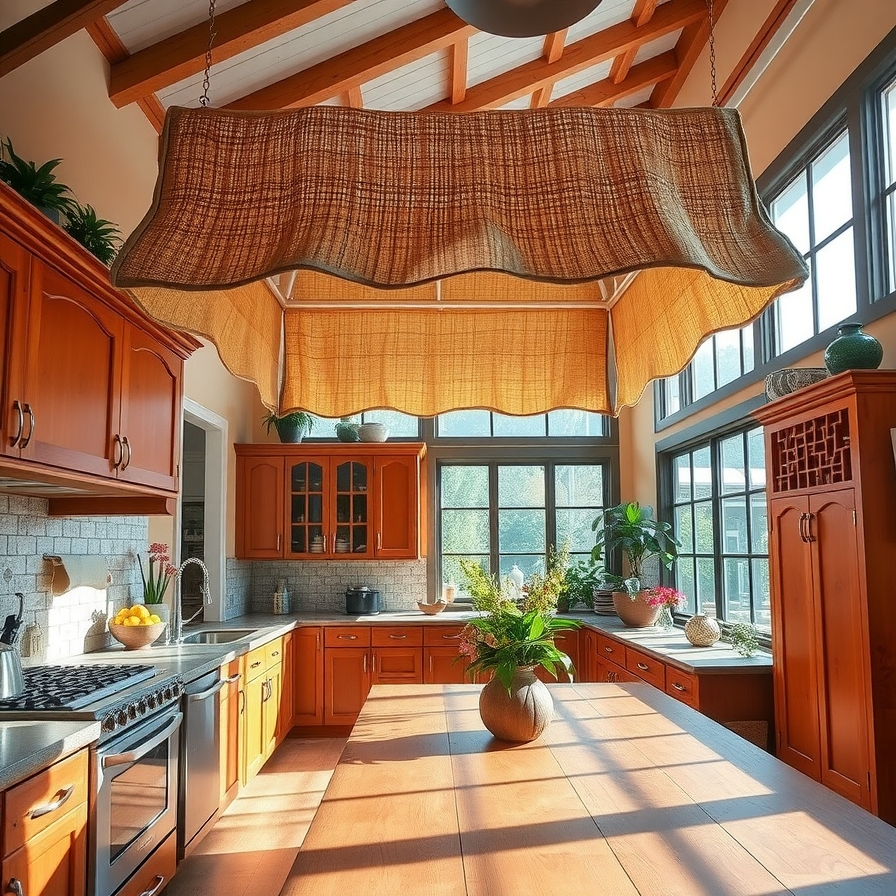
Burlap gives a rustic, country feel. It is a strong and cheap material. This awning looks great in farmhouse-style kitchens.
Materials You Need:
-
A wooden board
-
A large piece of burlap
-
Twine or jute rope
-
Two small wooden dowels or sticks
-
Staple gun
-
Screws and brackets
Simple Steps:
-
Follow the first steps from Idea #1 to cover your board with burlap.
-
To add a special touch, create ties. Cut two pieces of twine, each about 2 feet long.
-
Take your small dowels. Wrap the burlap around each end of a dowel. Use the twine to tie it in a knot. This makes it look like a rolled-up awning.
-
You can let the burlap hang loose. Or you can roll it up and tie it with twine for a different look.
3. The Classic Metal Frame Awning
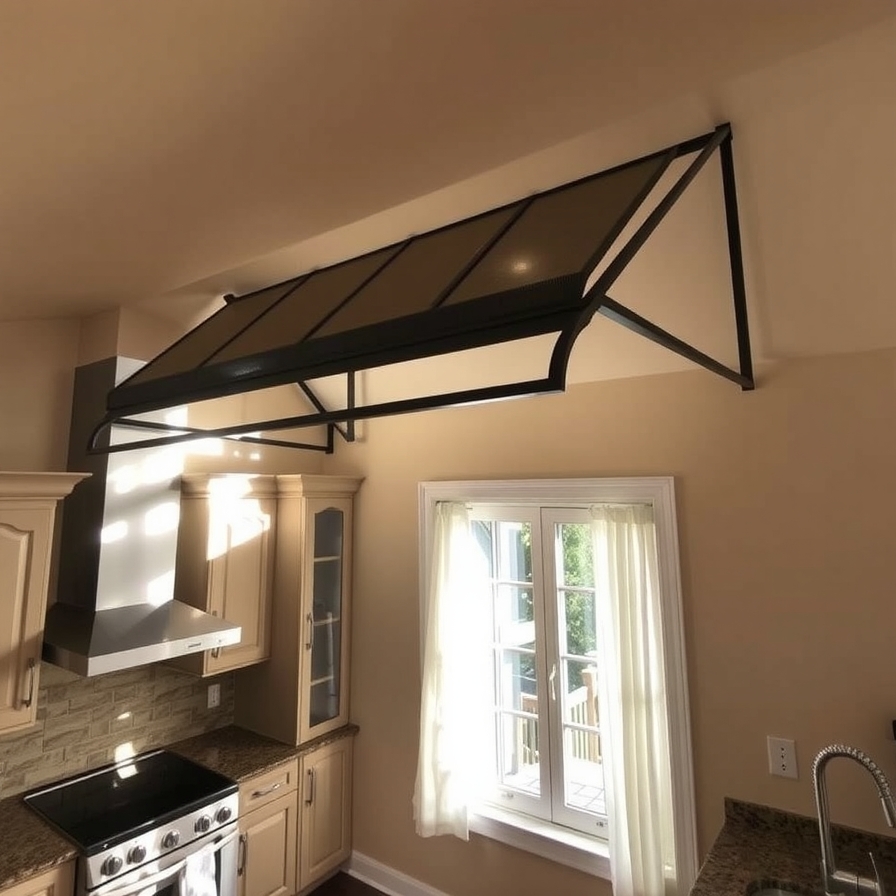
This awning looks like the classic ones outside shops. It has a metal frame. You bend conduit pipe to make the arch shape.
Materials You Need:
-
EMT electrical metallic tubing (conduit) – 1/2 inch works well
-
Pipe bender or a large round form to bend the pipe
-
Fabric for the cover
-
Heavy-duty thread or a sewing machine
-
Screw-in hooks (2)
-
Chain or wire to hang it
Simple Steps:
-
Measure the width of your window. Cut your conduit pipe to this length.
-
Carefully bend the pipe into a soft arch shape. A pipe bender makes this easy. You can also bend it slowly around a large bucket.
-
Sew a sleeve into your fabric. The pipe should slide through it easily.
-
Slide the fabric onto the pipe.
-
Screw two hooks into the wall above your window. They should be at the ends of the pipe.
-
Use a small chain or strong wire to hang the pipe from the hooks. Make sure it is secure.
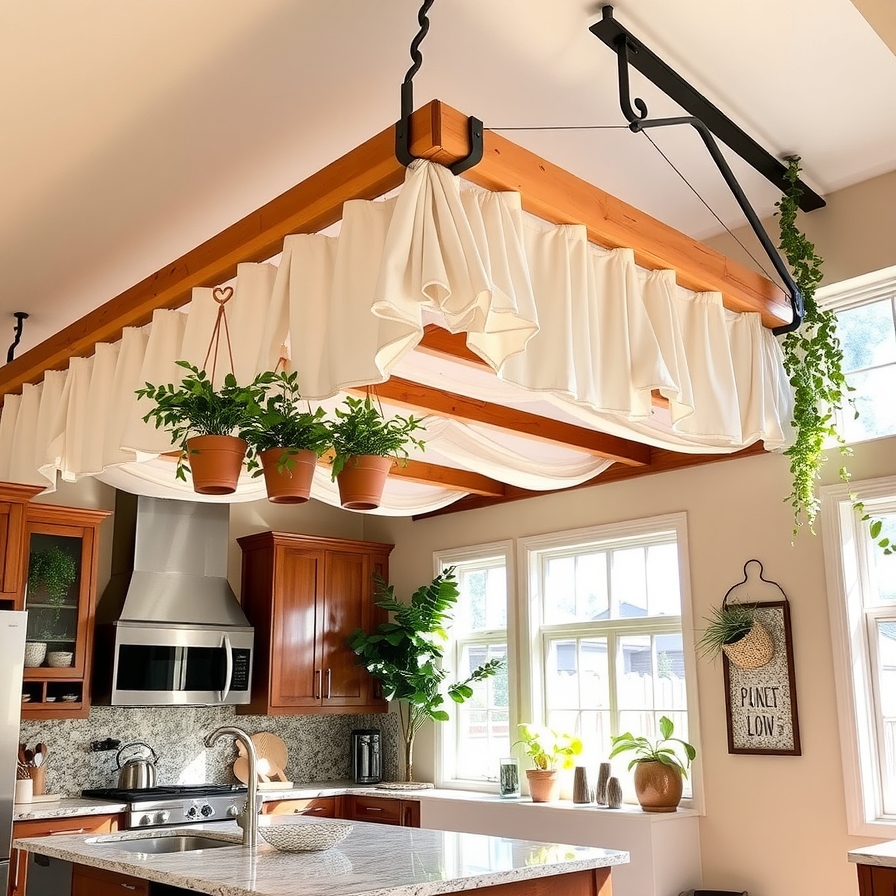
4. The Cozy Cloth Canopy Awning
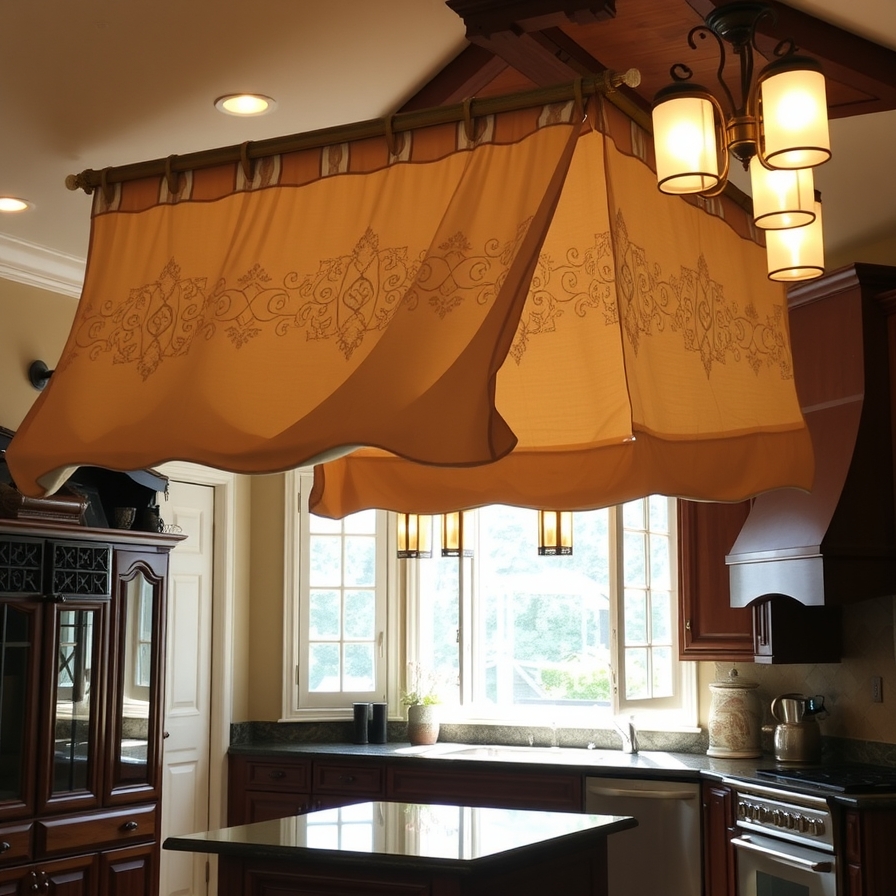
This idea is soft and cozy. It uses a light, flowing fabric. Drape it over a curtain rod for a relaxed look.
Materials You Need:
-
A tension rod or a curtain rod
-
Lightweight fabric like muslin or cotton
-
Scissors
Simple Steps:
-
Install your curtain rod above the window. A tension rod needs no tools.
-
Drape your fabric over the rod. Let the ends hang down evenly on both sides.
-
You can let it hang straight. Or you can tie the ends back to the wall with a hook. This creates a beautiful, flowing shape.
5. The Upcycled Vintage Shutter Awning
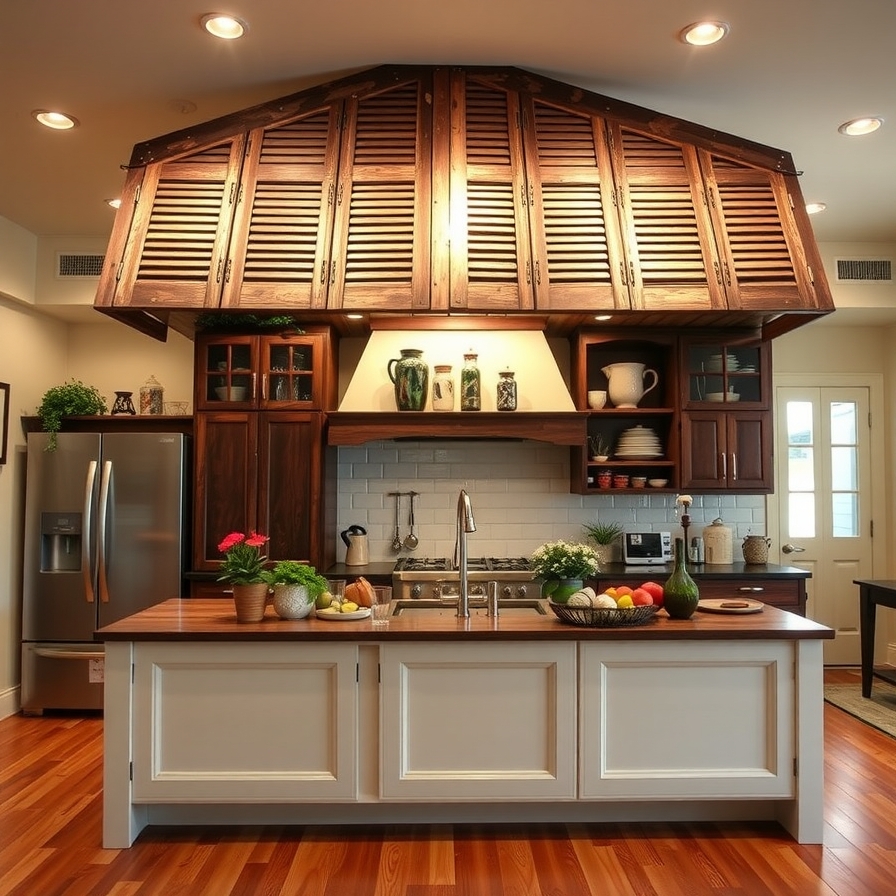
Do you have an old shutter? This is a creative way to reuse it. It adds instant vintage charm.
Materials You Need:
-
One old wooden shutter
-
Sandpaper
-
Paint or wood stain (optional)
-
L-brackets
-
Screws
Simple Steps:
-
Clean your shutter. Sand it lightly so it is smooth.
-
You can paint it a new color. Or leave it as-is for a rustic look.
-
Attach L-brackets to the back of the shutter.
-
Hold the shutter above the window. Screw it into the wall. The slats should point downward.
It looks like a fixed, decorative awning. Very unique!
6. The Modern Tension Rod Valance
No tools? No problem! This awning uses a simple tension rod. It is great for renters who cannot put holes in the wall.
Materials You Need:
-
A tension rod that fits inside your window frame
-
A piece of fabric, wide enough to drape
Simple Steps:
-
Place the tension rod inside the top of the window frame. Twist it until it is tight.
-
Drape your fabric over the rod. Center it.
-
Adjust the fabric so it hangs nicely. You are done in seconds!
7. The Whimsical Bamboo Blind Awning
A bamboo roll-up blind makes a perfect awning. It has a natural, tropical feel. It is also already the right shape.
Materials You Need:
-
A bamboo roll-up blind (the right width for your window)
-
Small screws
-
Two small hooks
Simple Steps:
-
Roll up the bamboo blind about halfway.
-
Hold it above your window. The rolled part should be at the top.
-
Use small screws to attach the top of the blind to the wall.
-
Install two small hooks on the wall at the sides of the window.
-
Use the blind’s strings to tie it open to the hooks. This keeps it in place.
8. The Elegant Wooden Box Valance
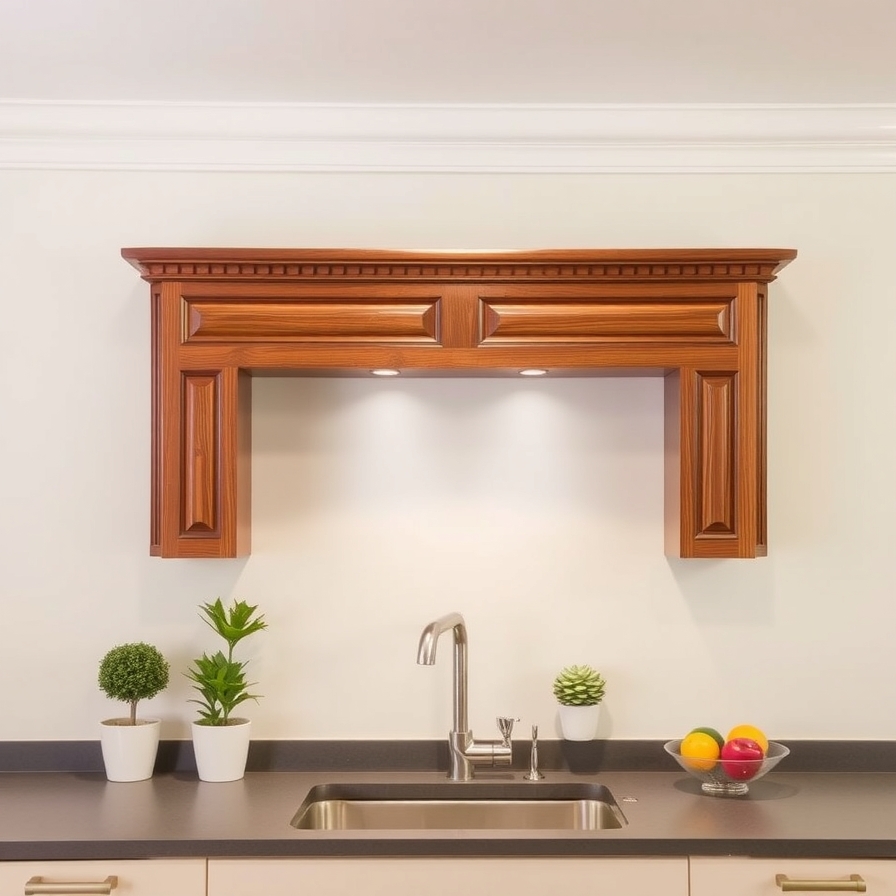
This awning is a wooden box. It looks very built-in and professional. You can paint it to match your cabinets.
Materials You Need:
-
Pre-cut wood pieces (1×8 board for the front, 1×2 boards for the sides and top)
-
Wood glue
-
Nails or a nail gun
-
Wood putty
-
Sandpaper
-
Paint or stain
-
L-brackets
Simple Steps:
-
Cut your wood pieces. You need a front board and three pieces for the top and sides.
-
Assemble the pieces into a shallow, open-top box. Use wood glue and nails.
-
Fill any nail holes with wood putty. Sand the whole box until smooth.
-
Paint or stain the box. Let it dry completely.
-
Attach L-brackets inside the top of the box.
-
Screw the box securely to the wall above the window.
9. The No-Sew Fringe Valance
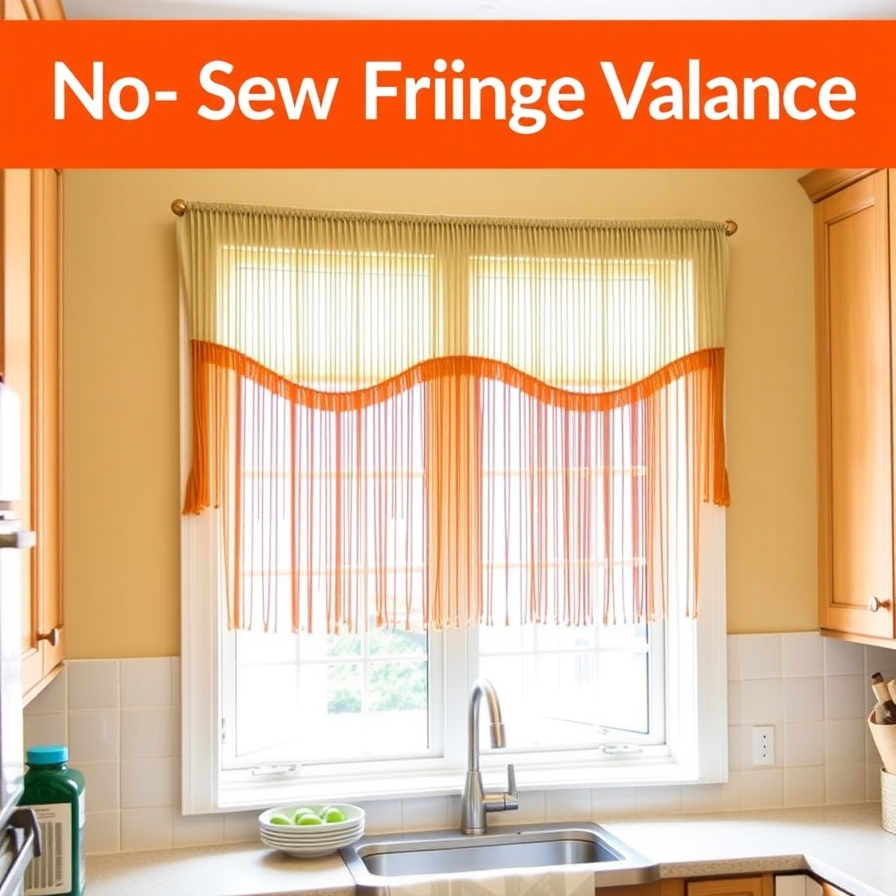
This idea is full of fun and texture. You use fringe trim or tassels. No sewing is required. Just use fabric glue.
Materials You Need:
-
A simple fabric valance (like from Idea #1)
-
Decorative fringe, pom-pom trim, or tassels
-
Strong fabric glue or a hot glue gun
Simple Steps:
-
Make a simple fabric-covered board valance.
-
Turn it over so the front is facing down.
-
Run a line of glue along the bottom edge.
-
Press your fringe or trim into the glue. Hold it until the glue sets.
-
Let it dry completely before you hang it up.
10. The Playful Paper Awning
Yes, you can use paper! This is a fantastic idea for a party. Or for a kid’s play kitchen. It is very temporary and cheap.
Materials You Need:
-
Stiff, colorful paper or cardboard
-
Tape or glue
-
String
Simple Steps:
-
Cut your paper into a long strip. Fold it into an accordion shape.
-
Open it up. It will have a zig-zag shape.
-
Tape the top edges to the wall above the window.
-
You can also punch holes in the top and thread a string through. Tie the string to two hooks on the wall.
It is not permanent. But it is very fun and colorful.
FAQs About DIY Indoor Kitchen Awnings
What is the easiest DIY awning to make?
The tension rod valance is the easiest. You only need a rod and fabric. No tools are needed.
What kind of fabric is best for a kitchen awning?
Choose cotton or polyester. These fabrics are strong and easy to clean. Avoid silk or other delicate materials.
How do I clean my fabric awning?
Most fabric awnings cannot be washed. Use a vacuum with a brush attachment to dust it. For stains, gently spot clean with a damp cloth and mild soap.
Can I make an awning without drilling holes?
Yes. Use a tension rod inside the window frame. Or use strong adhesive hooks. These will not damage your walls.
How much does it cost to make a DIY awning?
Costs vary. A simple fabric valance may cost under $20. A wooden box valance may cost around $50. It depends on the materials you choose.
How do I choose the right awning style?
Look at your kitchen’s style. A rustic kitchen suits burlap or wood. A modern kitchen suits a simple metal frame. Choose a fabric pattern you love.
Final Thoughts
DIY indoor awnings are a wonderful project. They add personality and style to your kitchen. You do not need to be an expert. Start with a simple idea. Use materials you like.
The goal is to have fun and create something you love. Your kitchen will feel new and fresh. So pick an idea, gather your supplies, and start your project today. You will be surprised at what you can make.